
Add a new ticket in Freshdesk when someone completes your typeform
When someone completes your typeform, this integration create a new ticket in Freshdesk. Gather all the information you need to provide top rate customer support.
What you need:
- A free Typeform account
- A Freshdesk account
To integrate with Freshdesk, your typeform needs:
An email question, to collect customer contact details set to required.One or two Short or Long text questions, set to required.
Setup:
- Click the Use this integration button, on the left of this text, to get started.
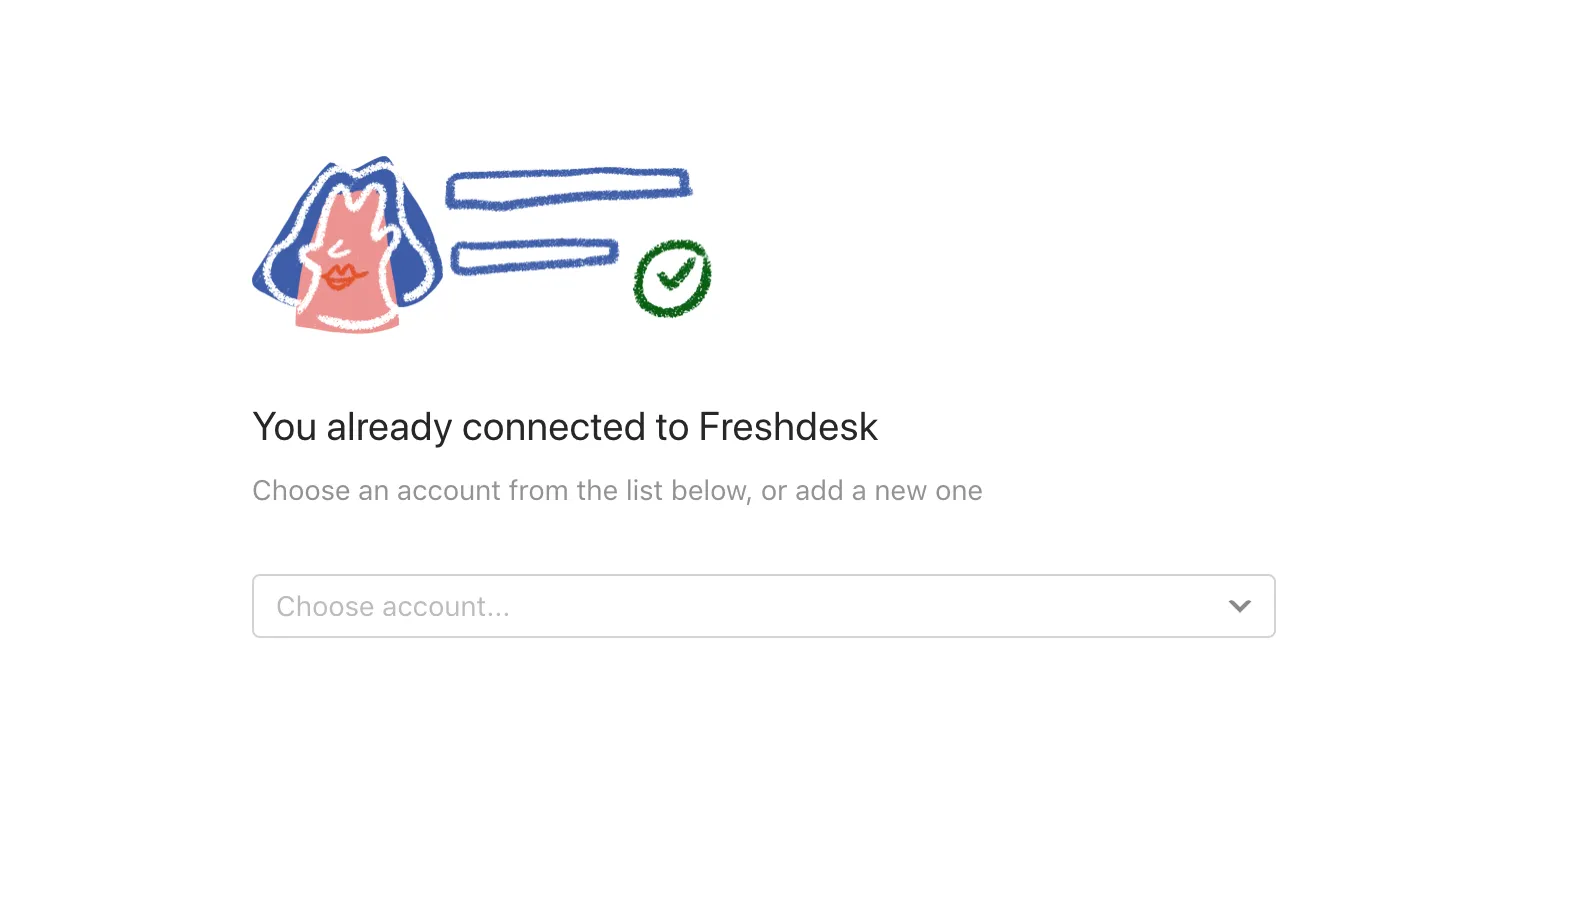
- Now you'll be prompted to give access to your Freshdesk account, or to choose an account you've previously connected to Typeform:
- When connecting a new Freshdesk account, we'll ask you for your Freshdesk API key, and the URL of your Freshdesk helpdesk.
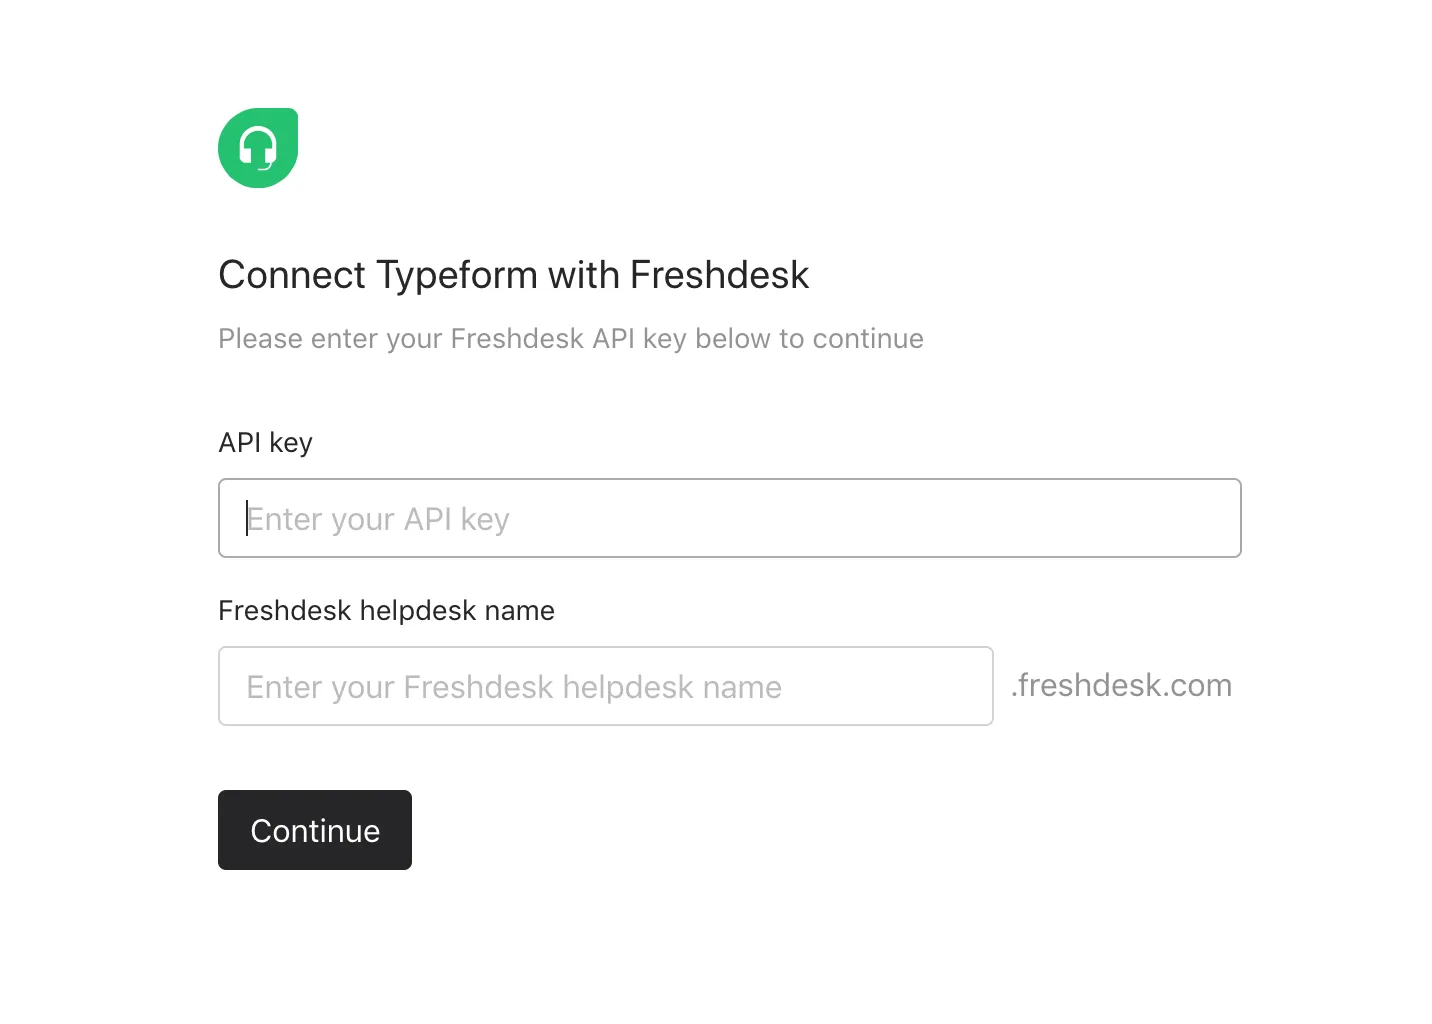
- Tip: This article explains how to find them. Click Continue once you've entered them.
- Now we'll set up the integration, starting with choosing the question that Freshdesk should take the ticket subject from. Click on an option from the dropdown menu.
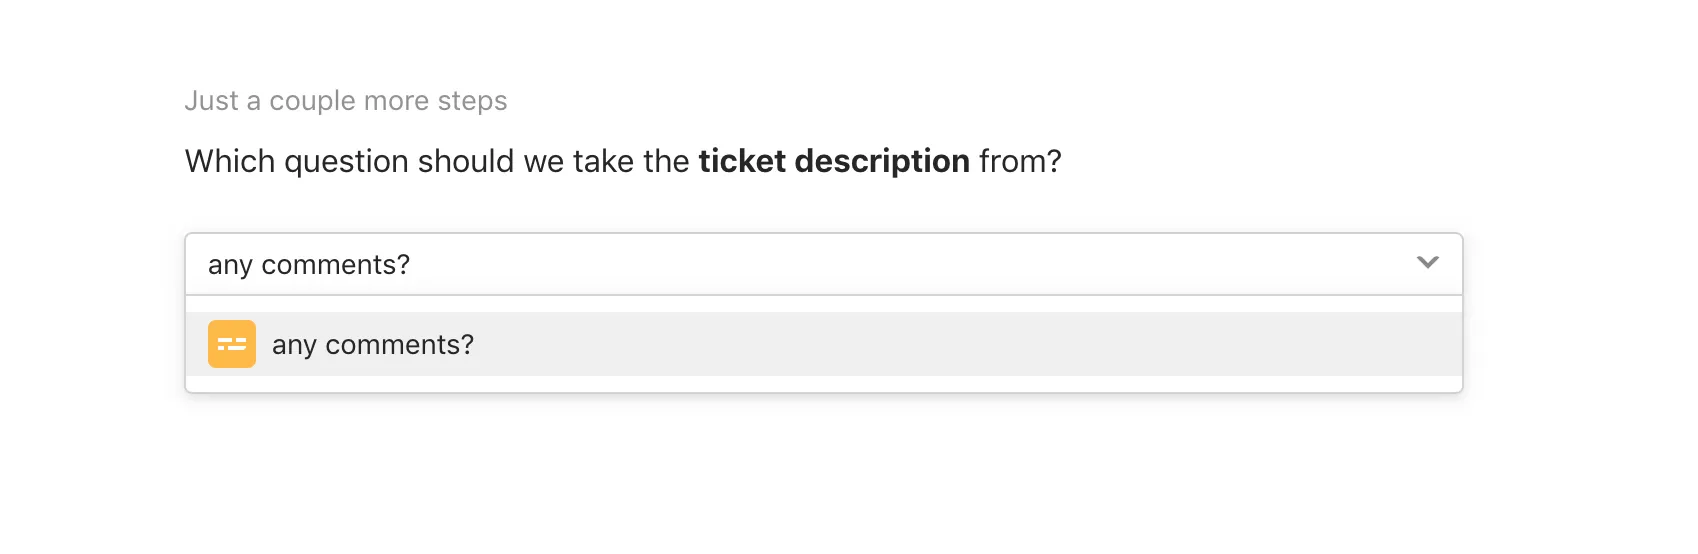
- Next, choose a question for the ticket description. This should be the main body of your ticket, where you ask customers to describe their problems:
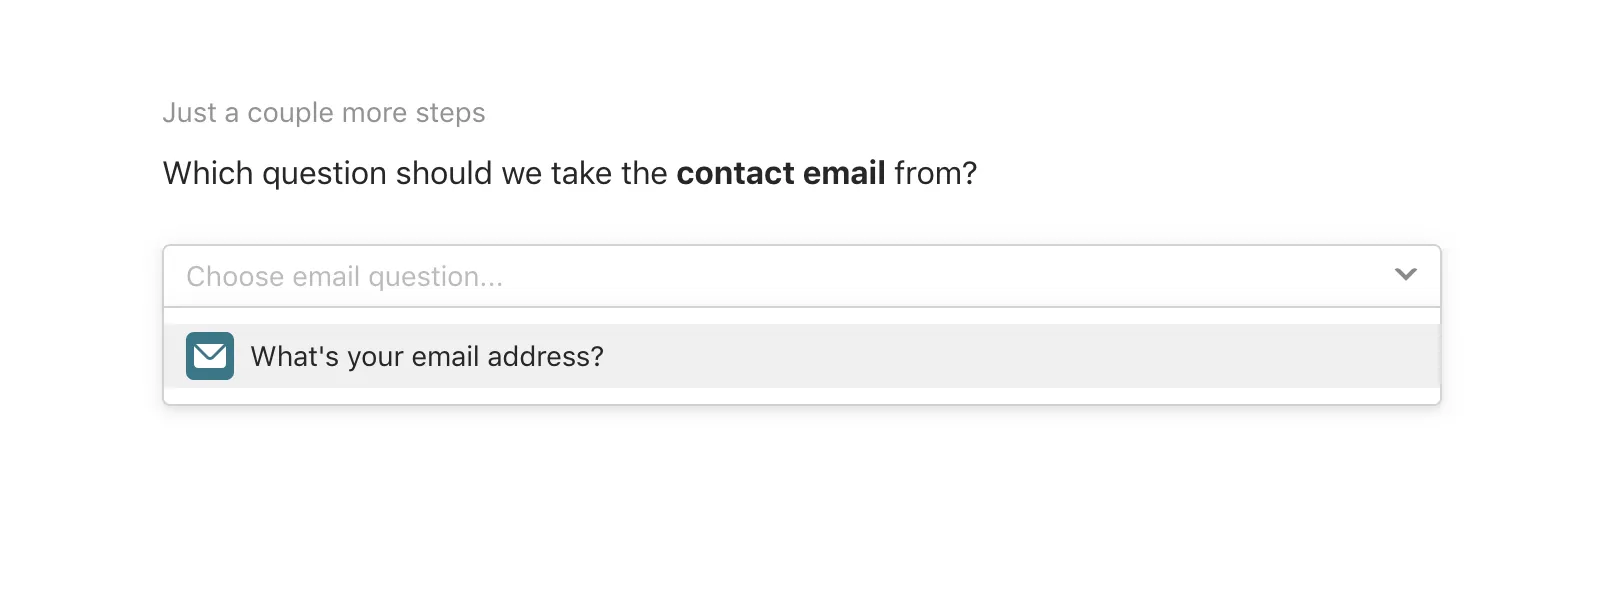
- Now select the email question, which Freshdesk will use as the contact for your customer:
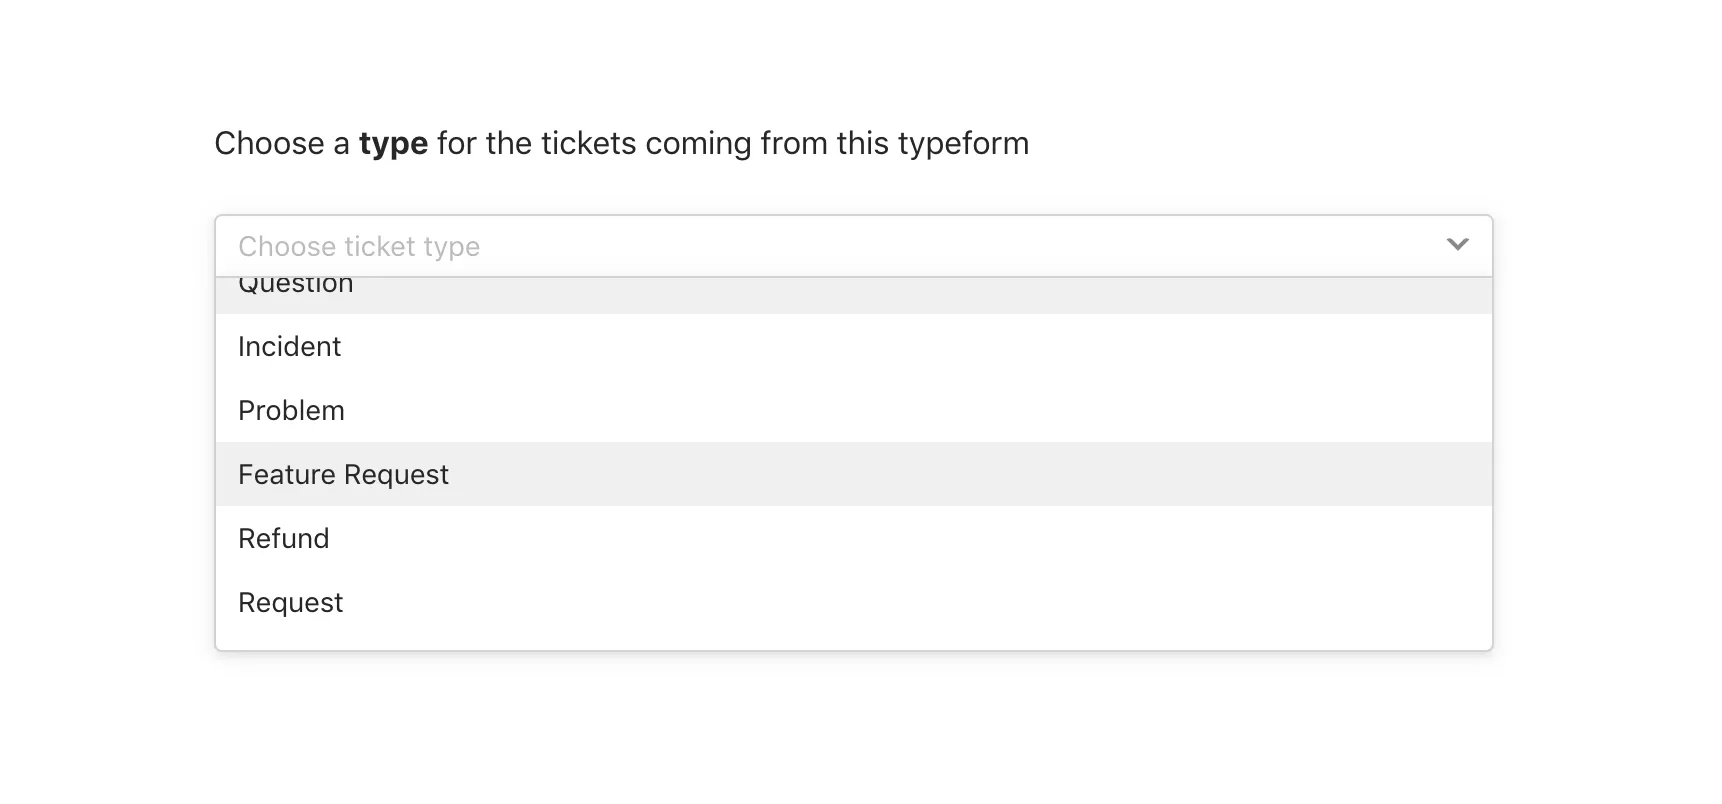
- Lastly, choose a ticket type. You can only choose one type for all requests coming through your typeform:
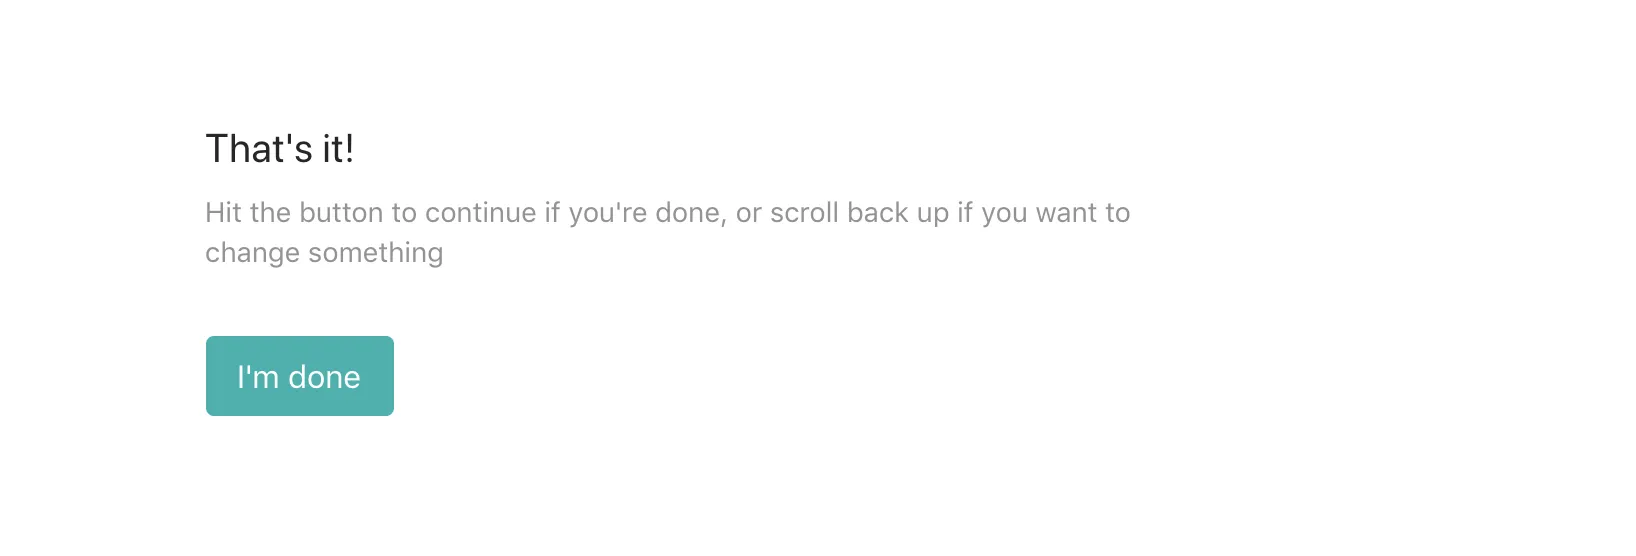
- Now setup is complete. If you want to make any changes now, you can scroll back. Otherwise click I'm done.
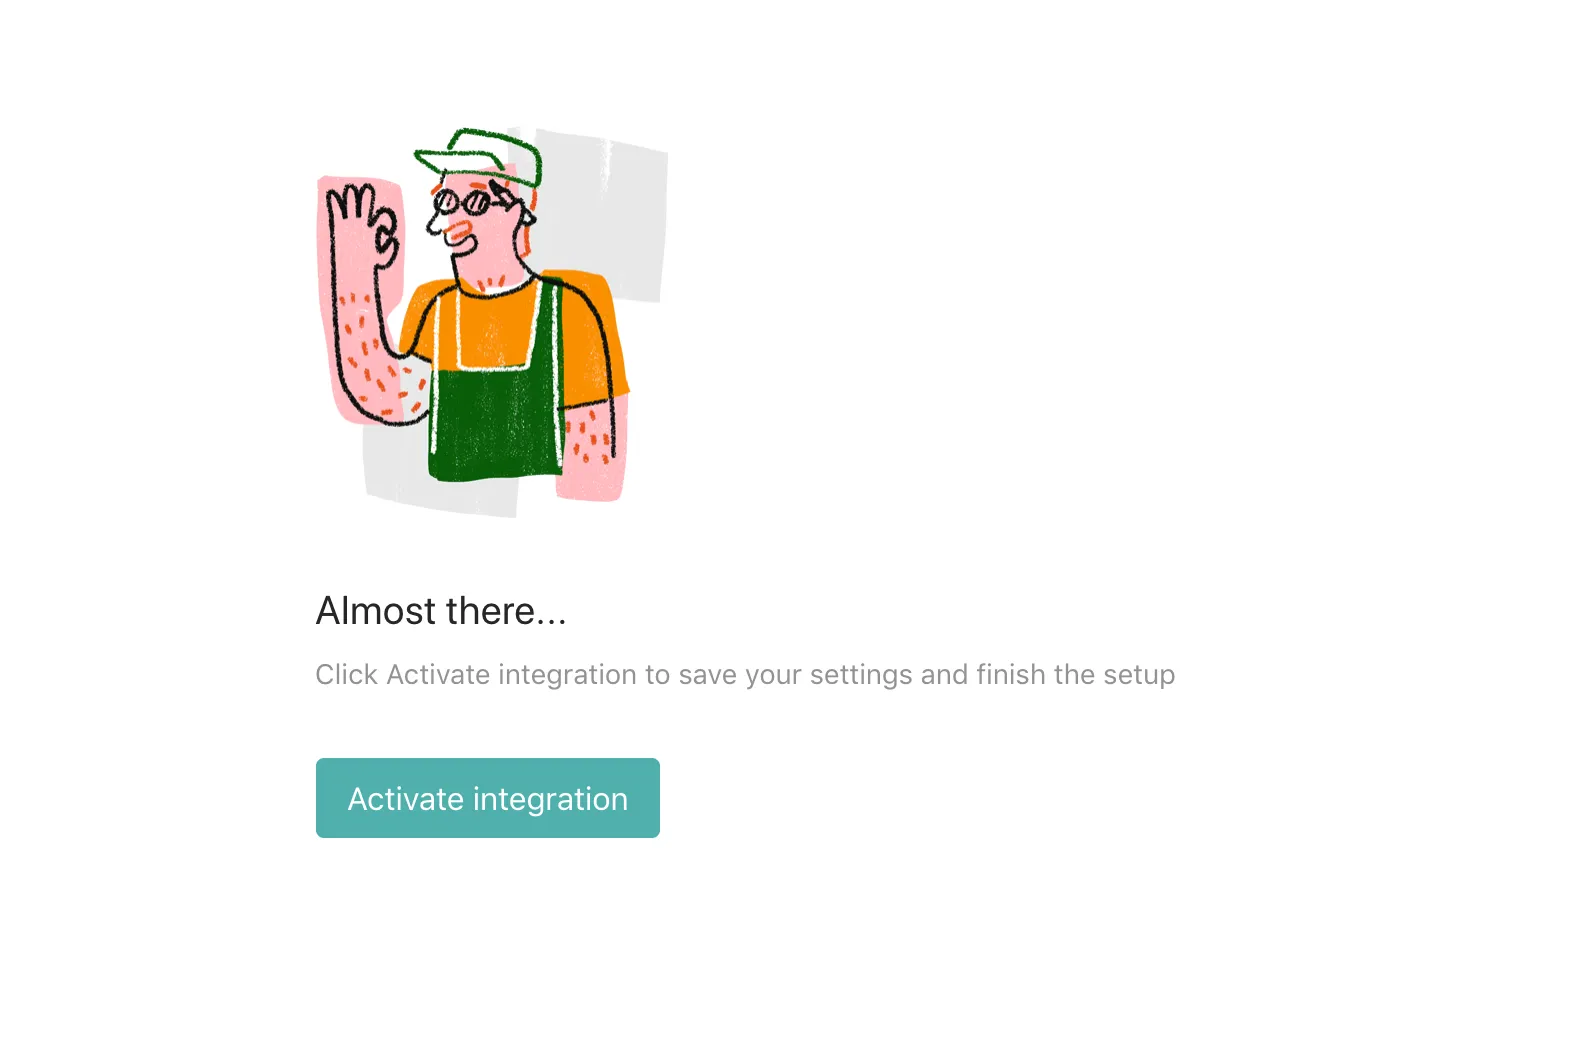
- Finally. click Activate integration on the next screen, and your integration is now live!
Make interactive forms, surveys, quizzes, and more
Engage your audience → get better data