

Turn your typeform responses into an Excel Online workbook
By:Typeform
With Excel, the ways in which you can slice, dice, parse, and [insert myriad fancy words for analyze] your data are virtually endless. So when you sync your typeform responses to an Excel workbook, you really open up a world of possibilities.
By connecting your typeform responses to an Excel Online workbook, you can create filtered views, add conditional formatting, and even turn your responses—which appear as data cells—into charts, graphs, and pivot tables.
What you need:
- A Typeform account with at least one active typeform
- An Excel Online account
Just a friendly reminder that you'll need to publish your typeform first in order for this integration to work.
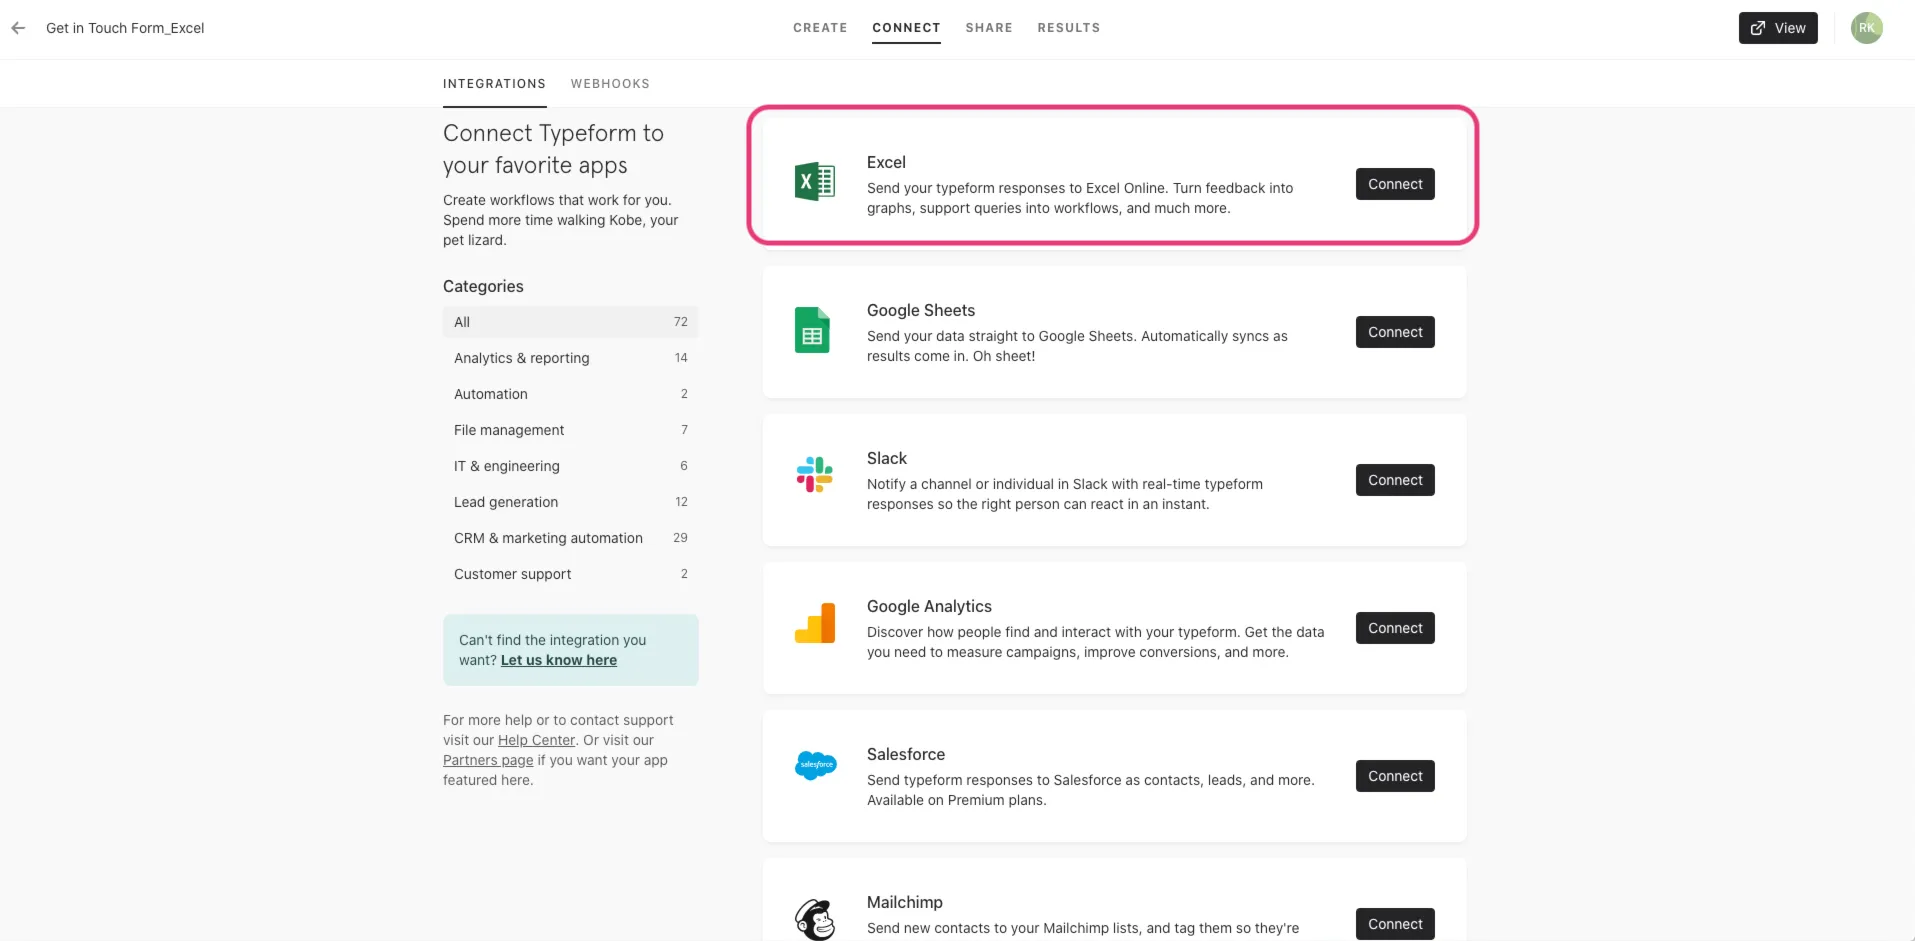
1 Once you've created and published your typeform, head over to the Connect panel. Click on the Connect button next to the Excel Online title.
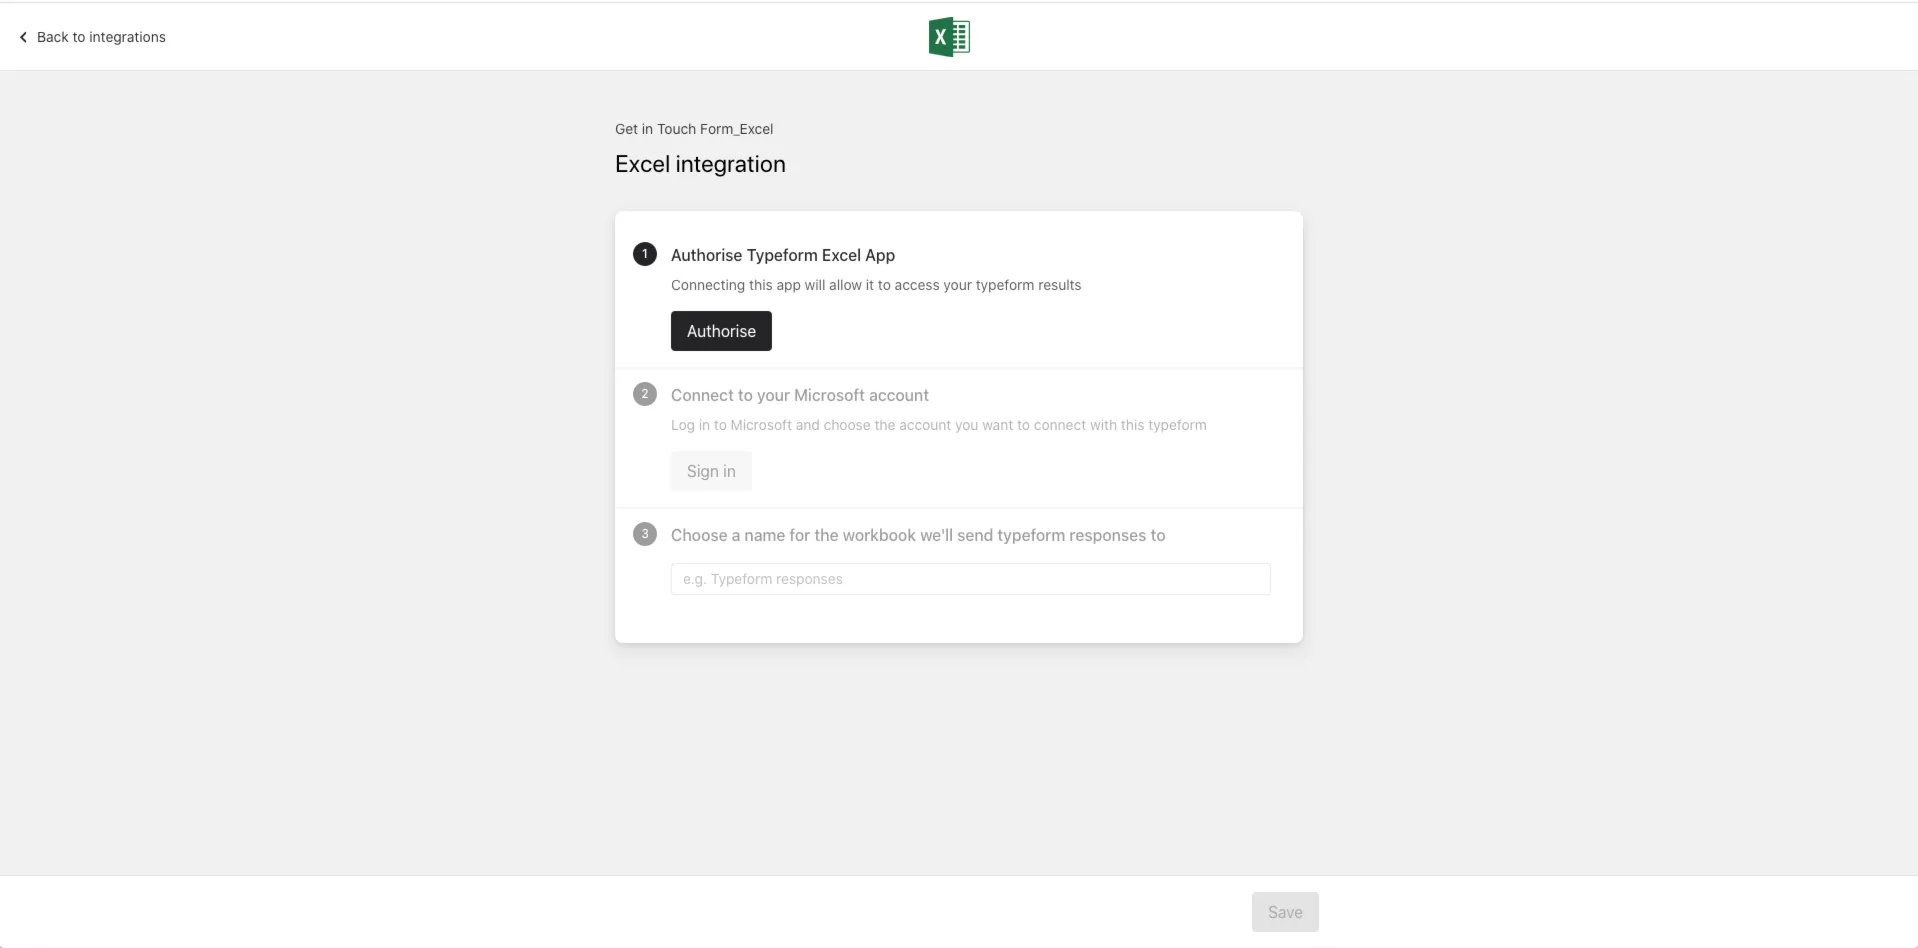
2 First you'll need to authorize your Typeform account. Click Accept when prompted to authorize your Typeform account to connect with Excel.
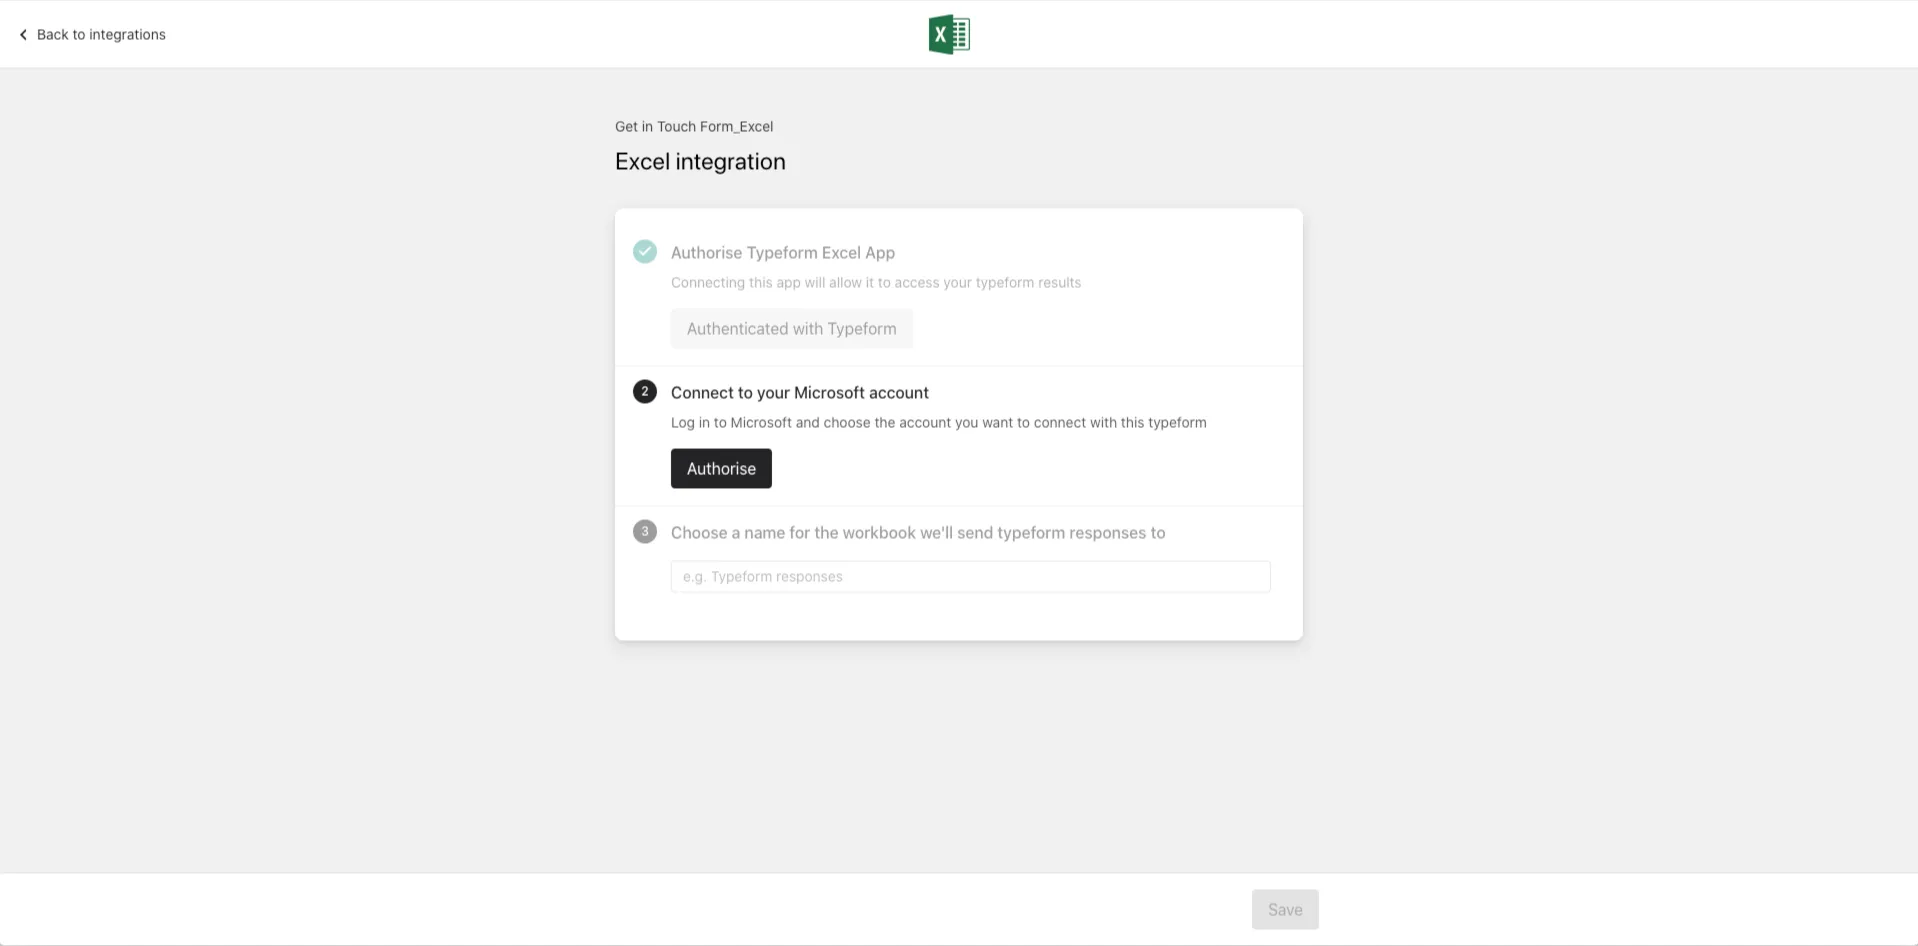
3 Next you'll need to connect to your Microsoft Account. If you're not already logged in, you'll need to login with your Microsoft credentials.
4 Finally you'll need to create a name for the workbook where you'll want your typeform responses to sync.
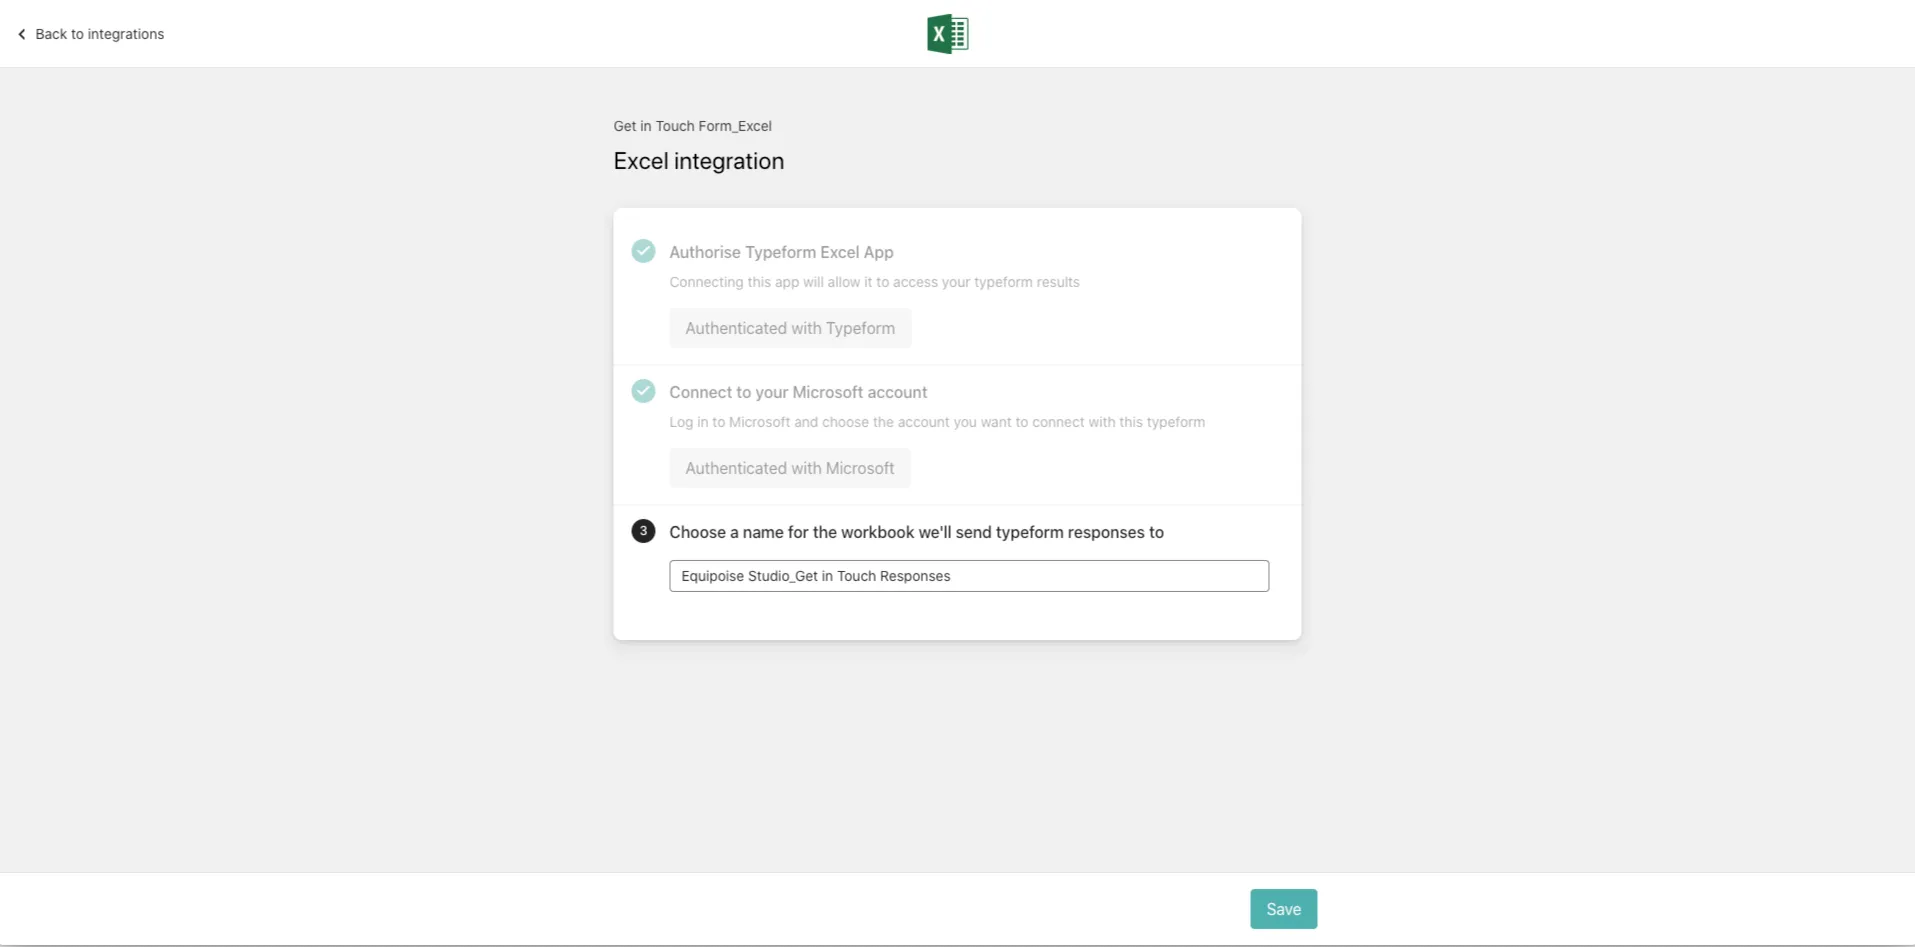
5 Click the Save button and you're all set! Your workbook has been created and every time you get a new typeform response, it'll sync as a new row in your Excel Online workbook.
Make interactive forms, surveys, quizzes, and more
Engage your audience → get better data