We're currently running an experiment on how to access some features within Typeform. You might see something different in your account than what you see in the article below. Check out this article for a brief overview of the features that have been moved.
With this integration, you can send information from a typeform to an Airtable base. From collecting leads for your sales CRM, to organizing an event, you can use the conversational feel of Typeform to populate your Airtable.
What you need:
- An Airtable account with a base and table set up.
- A Free or higher Typeform account.
- A typeform with questions corresponding to your Airtable fields.
Read on for detailed instructions on how to connect to Airtable and set up your mappings.
Getting started
Typeform offers a neat way to collect information and send it to an Airtable. The first thing you’ll need to do is create the typeform that will feed your Airtable. For every Airtable field you want to send information to, you need a corresponding question in your typeform.
For this tutorial, we’re using an event planning Airtable, and a typeform with questions that correspond to each field. So, the Date field has a corresponding typeform Date question, and so on. Once you’ve made a typeform, with questions for all the information you want to collect in Airtable, you can set up the integration.
Note that this integration only creates new Airtable records, and does not update existing Airtable records. This integration also does not backfill responses you've already collected. However, you can add a Typeform Extension to your Airtable base to populate a table from existing responses you've collected. Learn more about importing responses from a typeform to an Airtable base here.

Note! If you're using a free Airtable plan, please check out their API rate limits here. If you go over the rate limit, the integration may stop working.
1. Open your typeform from your Workspace, then go to the Connect panel. Find the Airtable integration, and click the Connect button.

Make sure your typeform is published with all of the latest changes before you set up the integration.
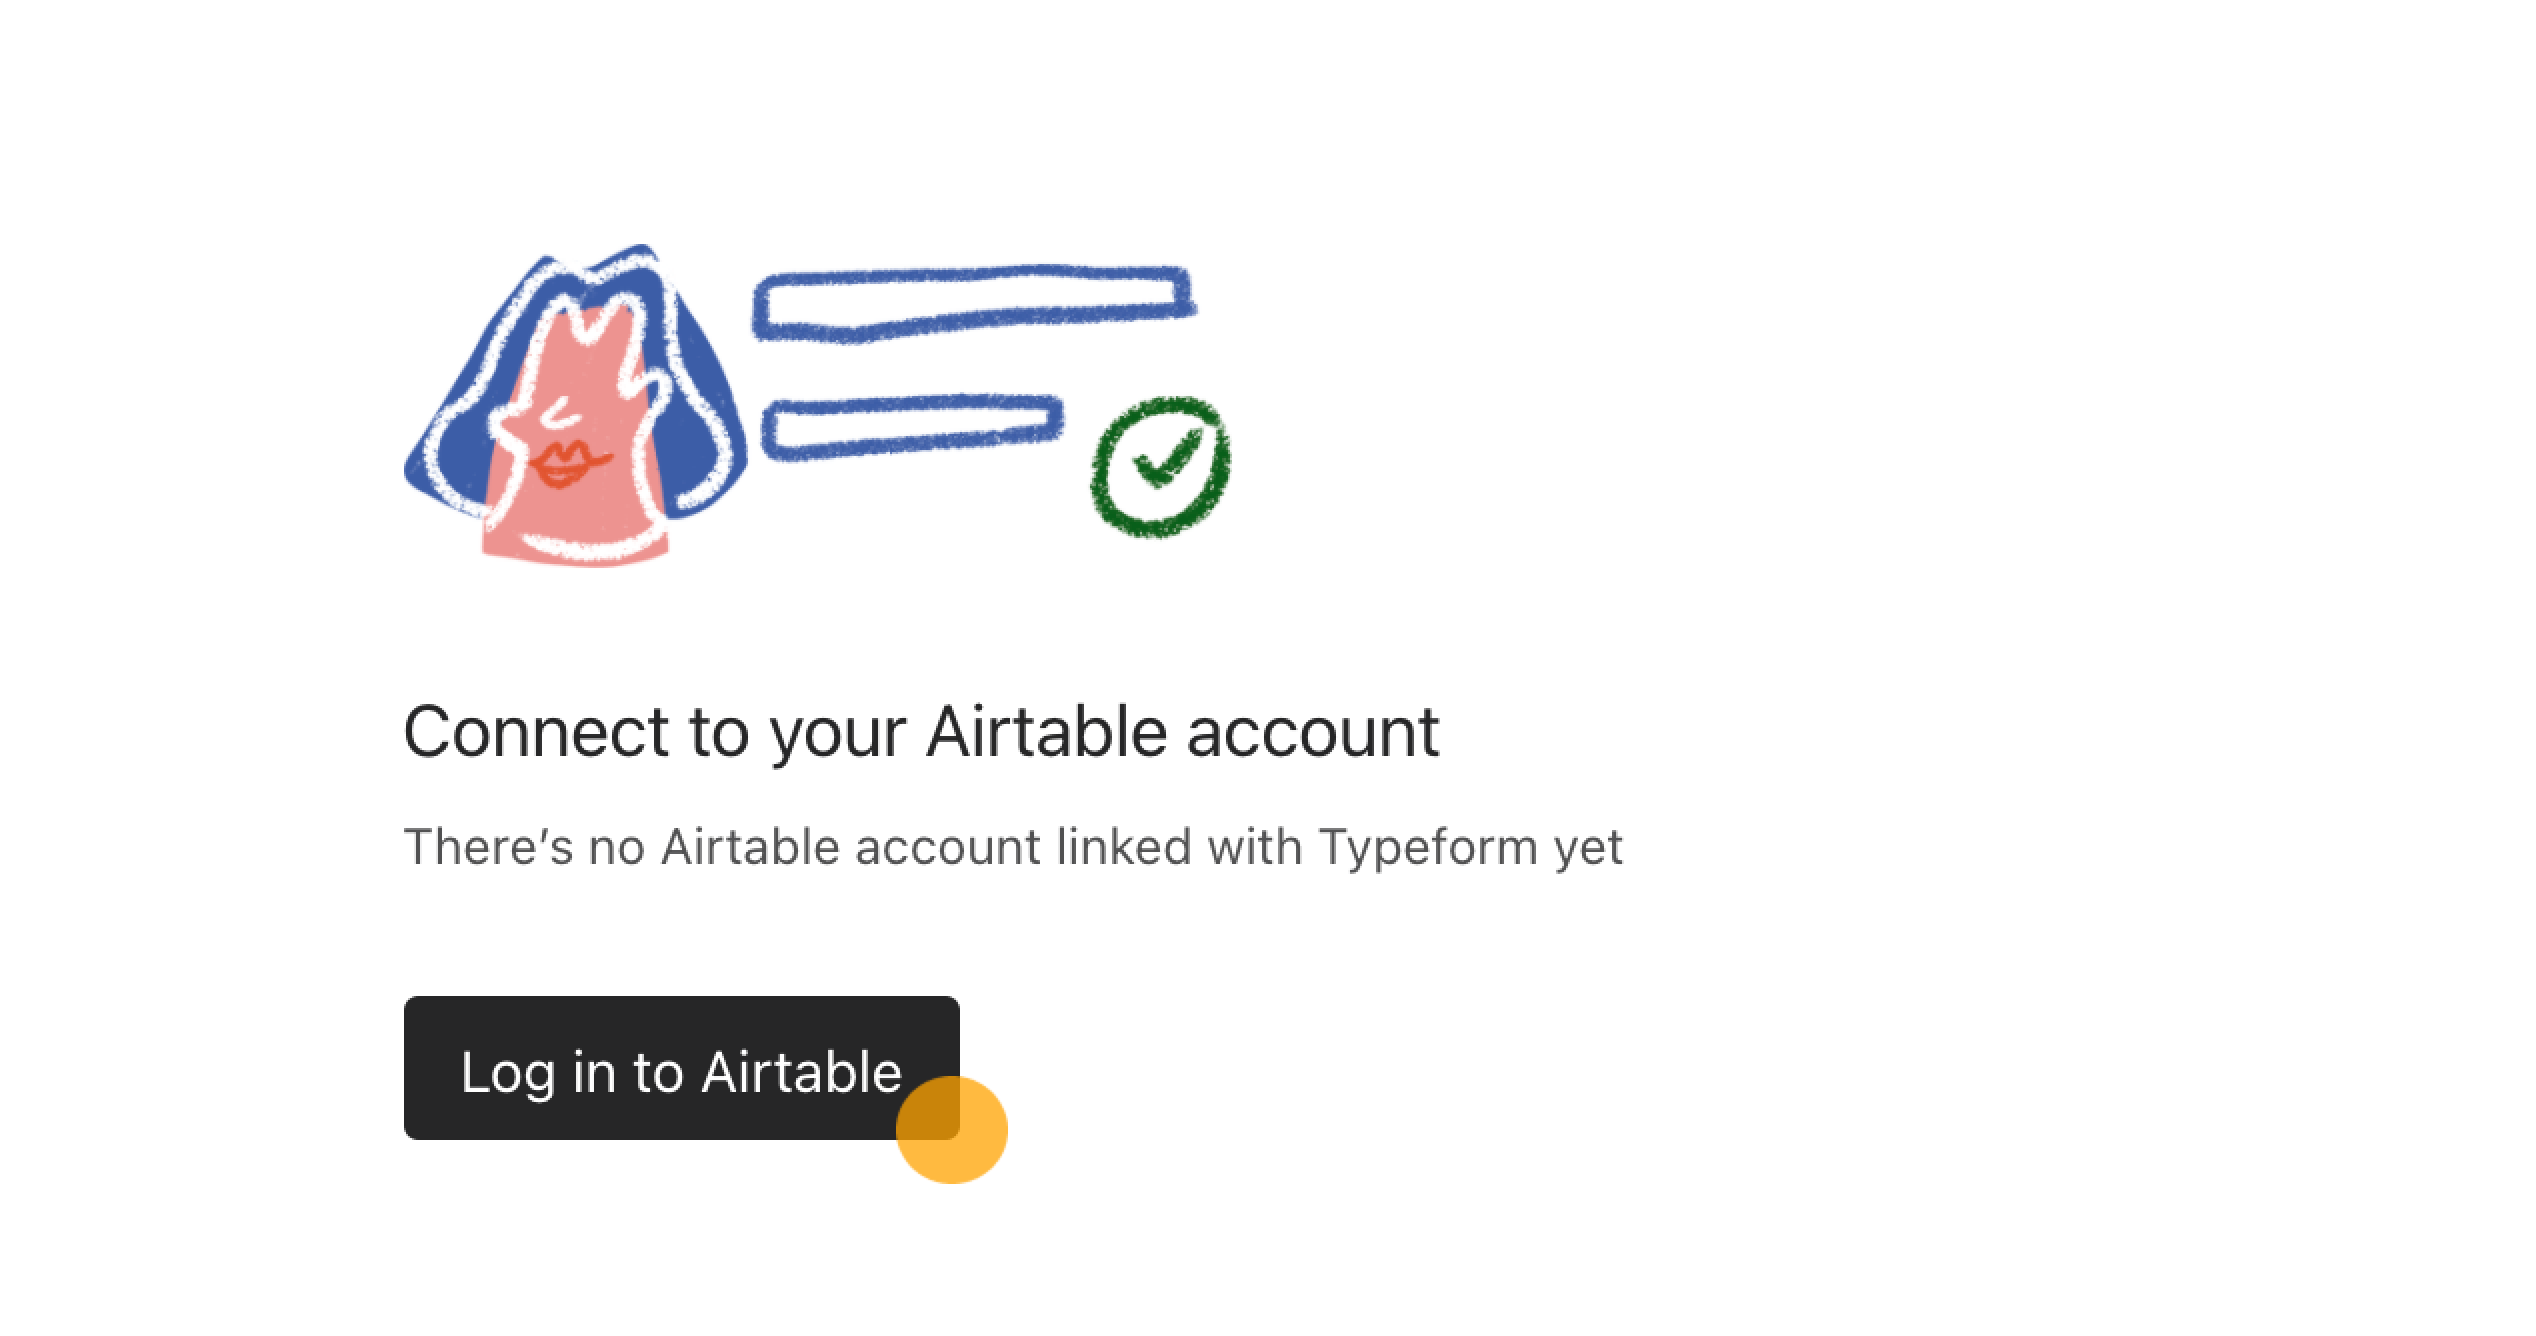
2. First we’ll ask you to connect your Airtable account, click Log into Airtable.
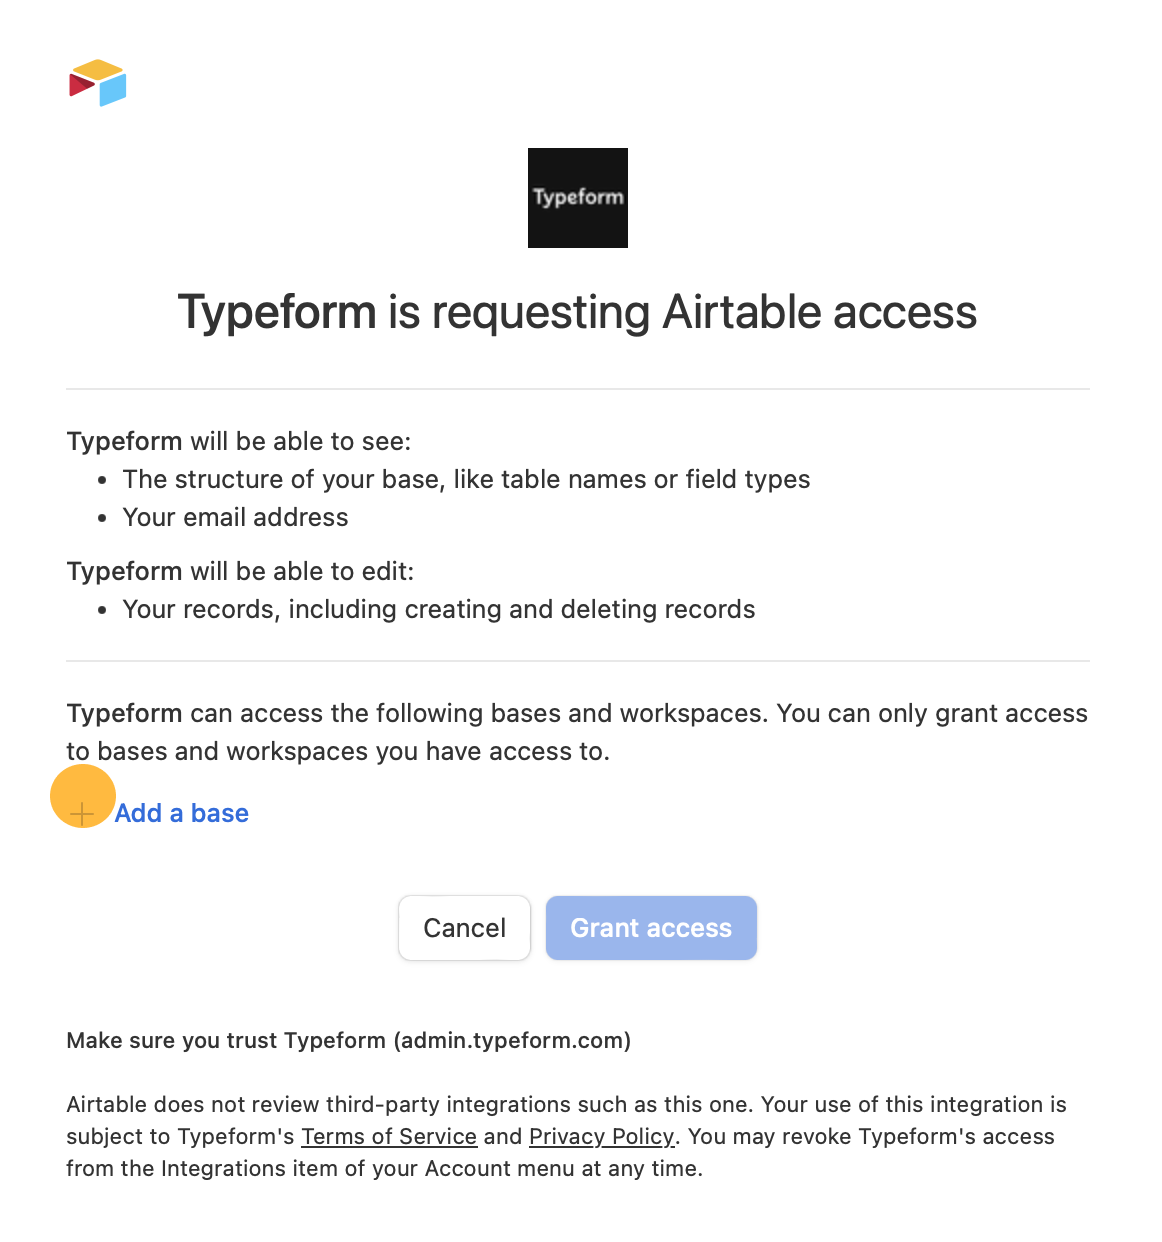
3. Now it's time to select the Typeform workspace Airtable will have access to. Click Add a base.
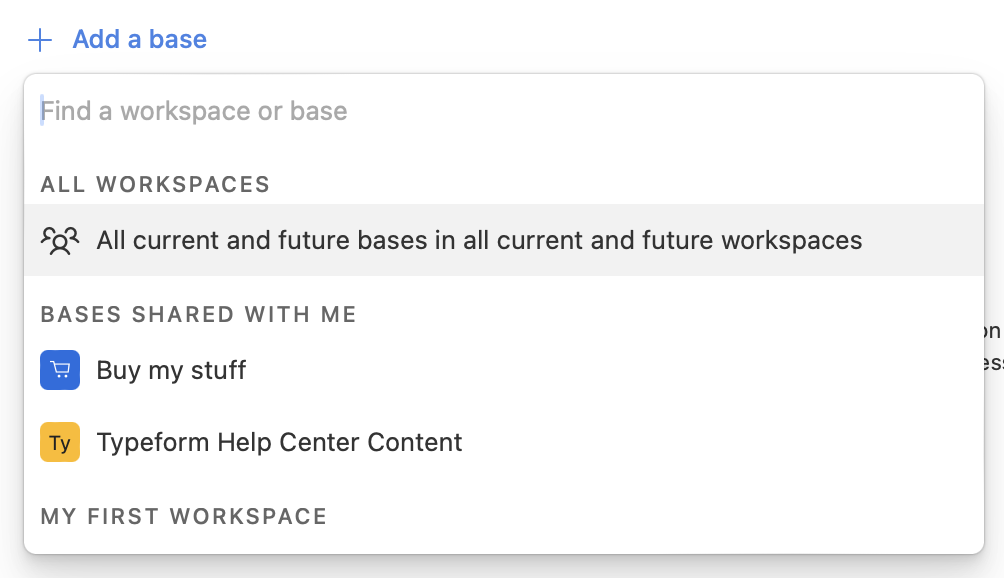
Now you can select the base you want to grant access to from the dropdown list:
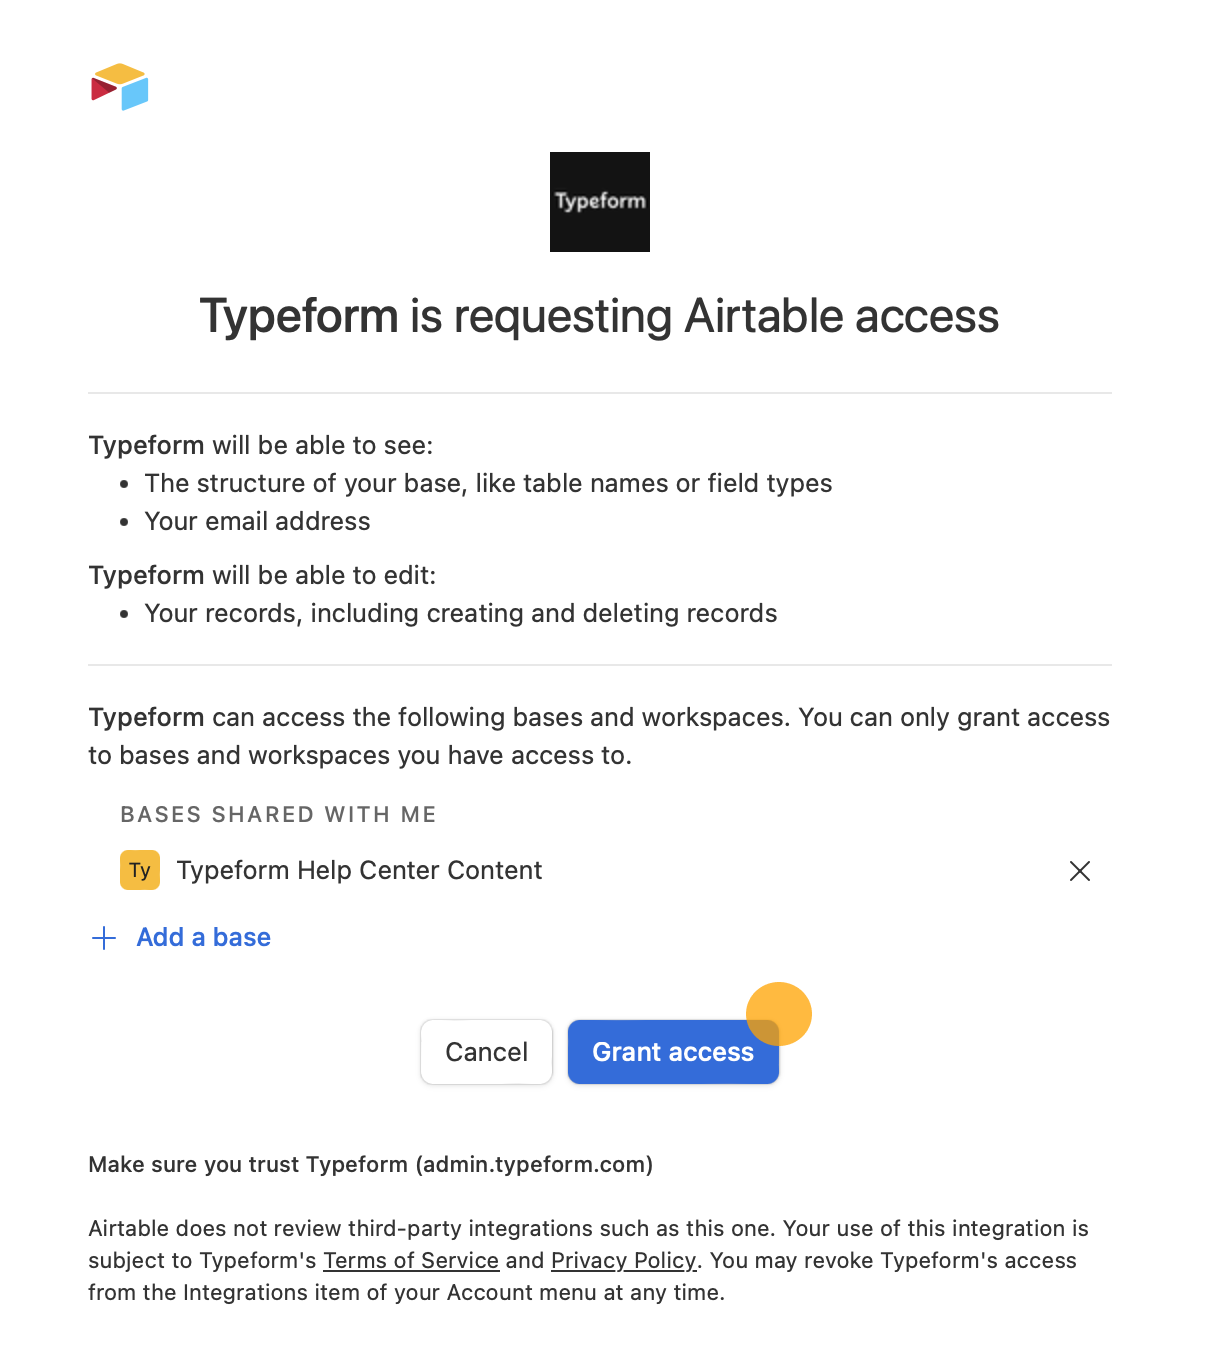
Click Grant access.

Warning! Airtable has a restriction that prevents a single user from authorizing the same integration more than 20 times. If you encounter an error message resembling the one below, it indicates that you have reached the maximum number of access permissions:
You have reached the maximum number of access permissions for this integration. You can't re-authorize this integration until you revoke at least one of the permissions for Typeform from the Integrations of your Account menu.
To address this limitation, consider one of the following suggestions:
- Reuse an authorization: Optimize your authorizations by reusing an existing one across multiple forms. This allows you to stay within the 20-authorization limit without creating new ones each time.
- Create an authorization with more permissions: Alternatively, create authorizations with broader permissions that can be reused across various forms. If you're not very tech-savvy, you might need a hand from a developer friend for this one.
- Revoke an authorization: Finally, you can follow the guidelines provided in Airtable's help article to revoke an authorization. However, be cautious as revoking an authorization will break any existing integrations relying on it.
4. Now your accounts are linked! It’s time to choose the base you want to connect to.

5. Next, you’ll choose the table you want to send data to.

Note that this integration will only create new records in the table. Existing records won't be updated based on matching information.
6. Time for the really important part: connecting your typeform questions to their corresponding fields.
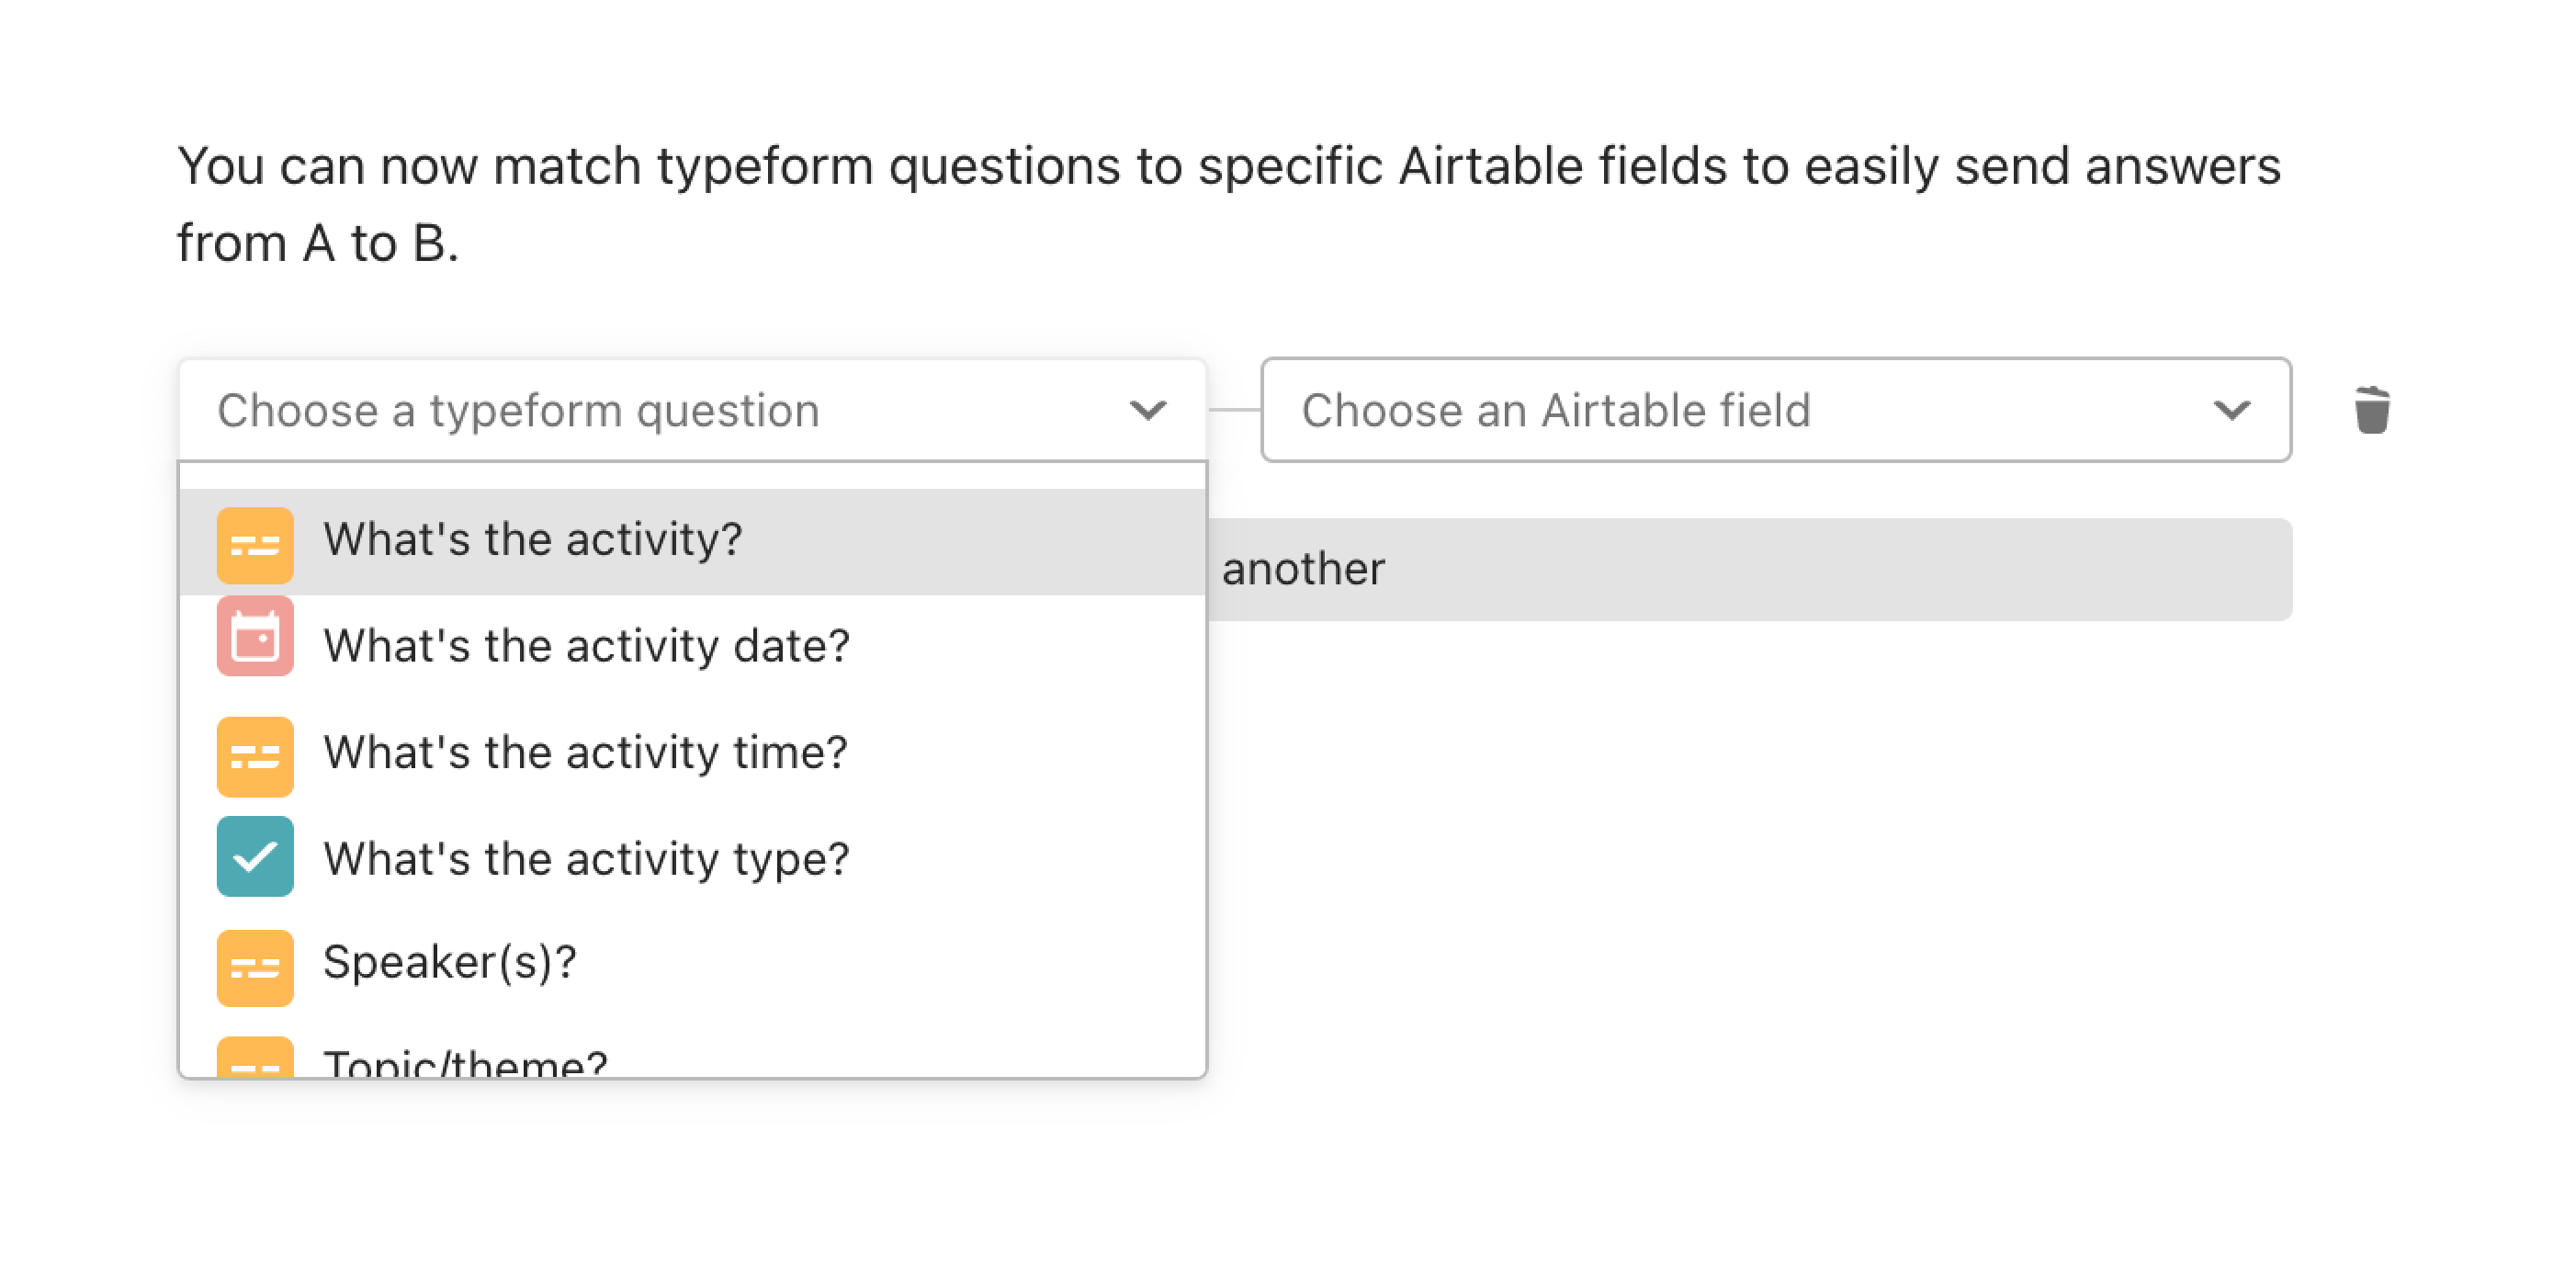
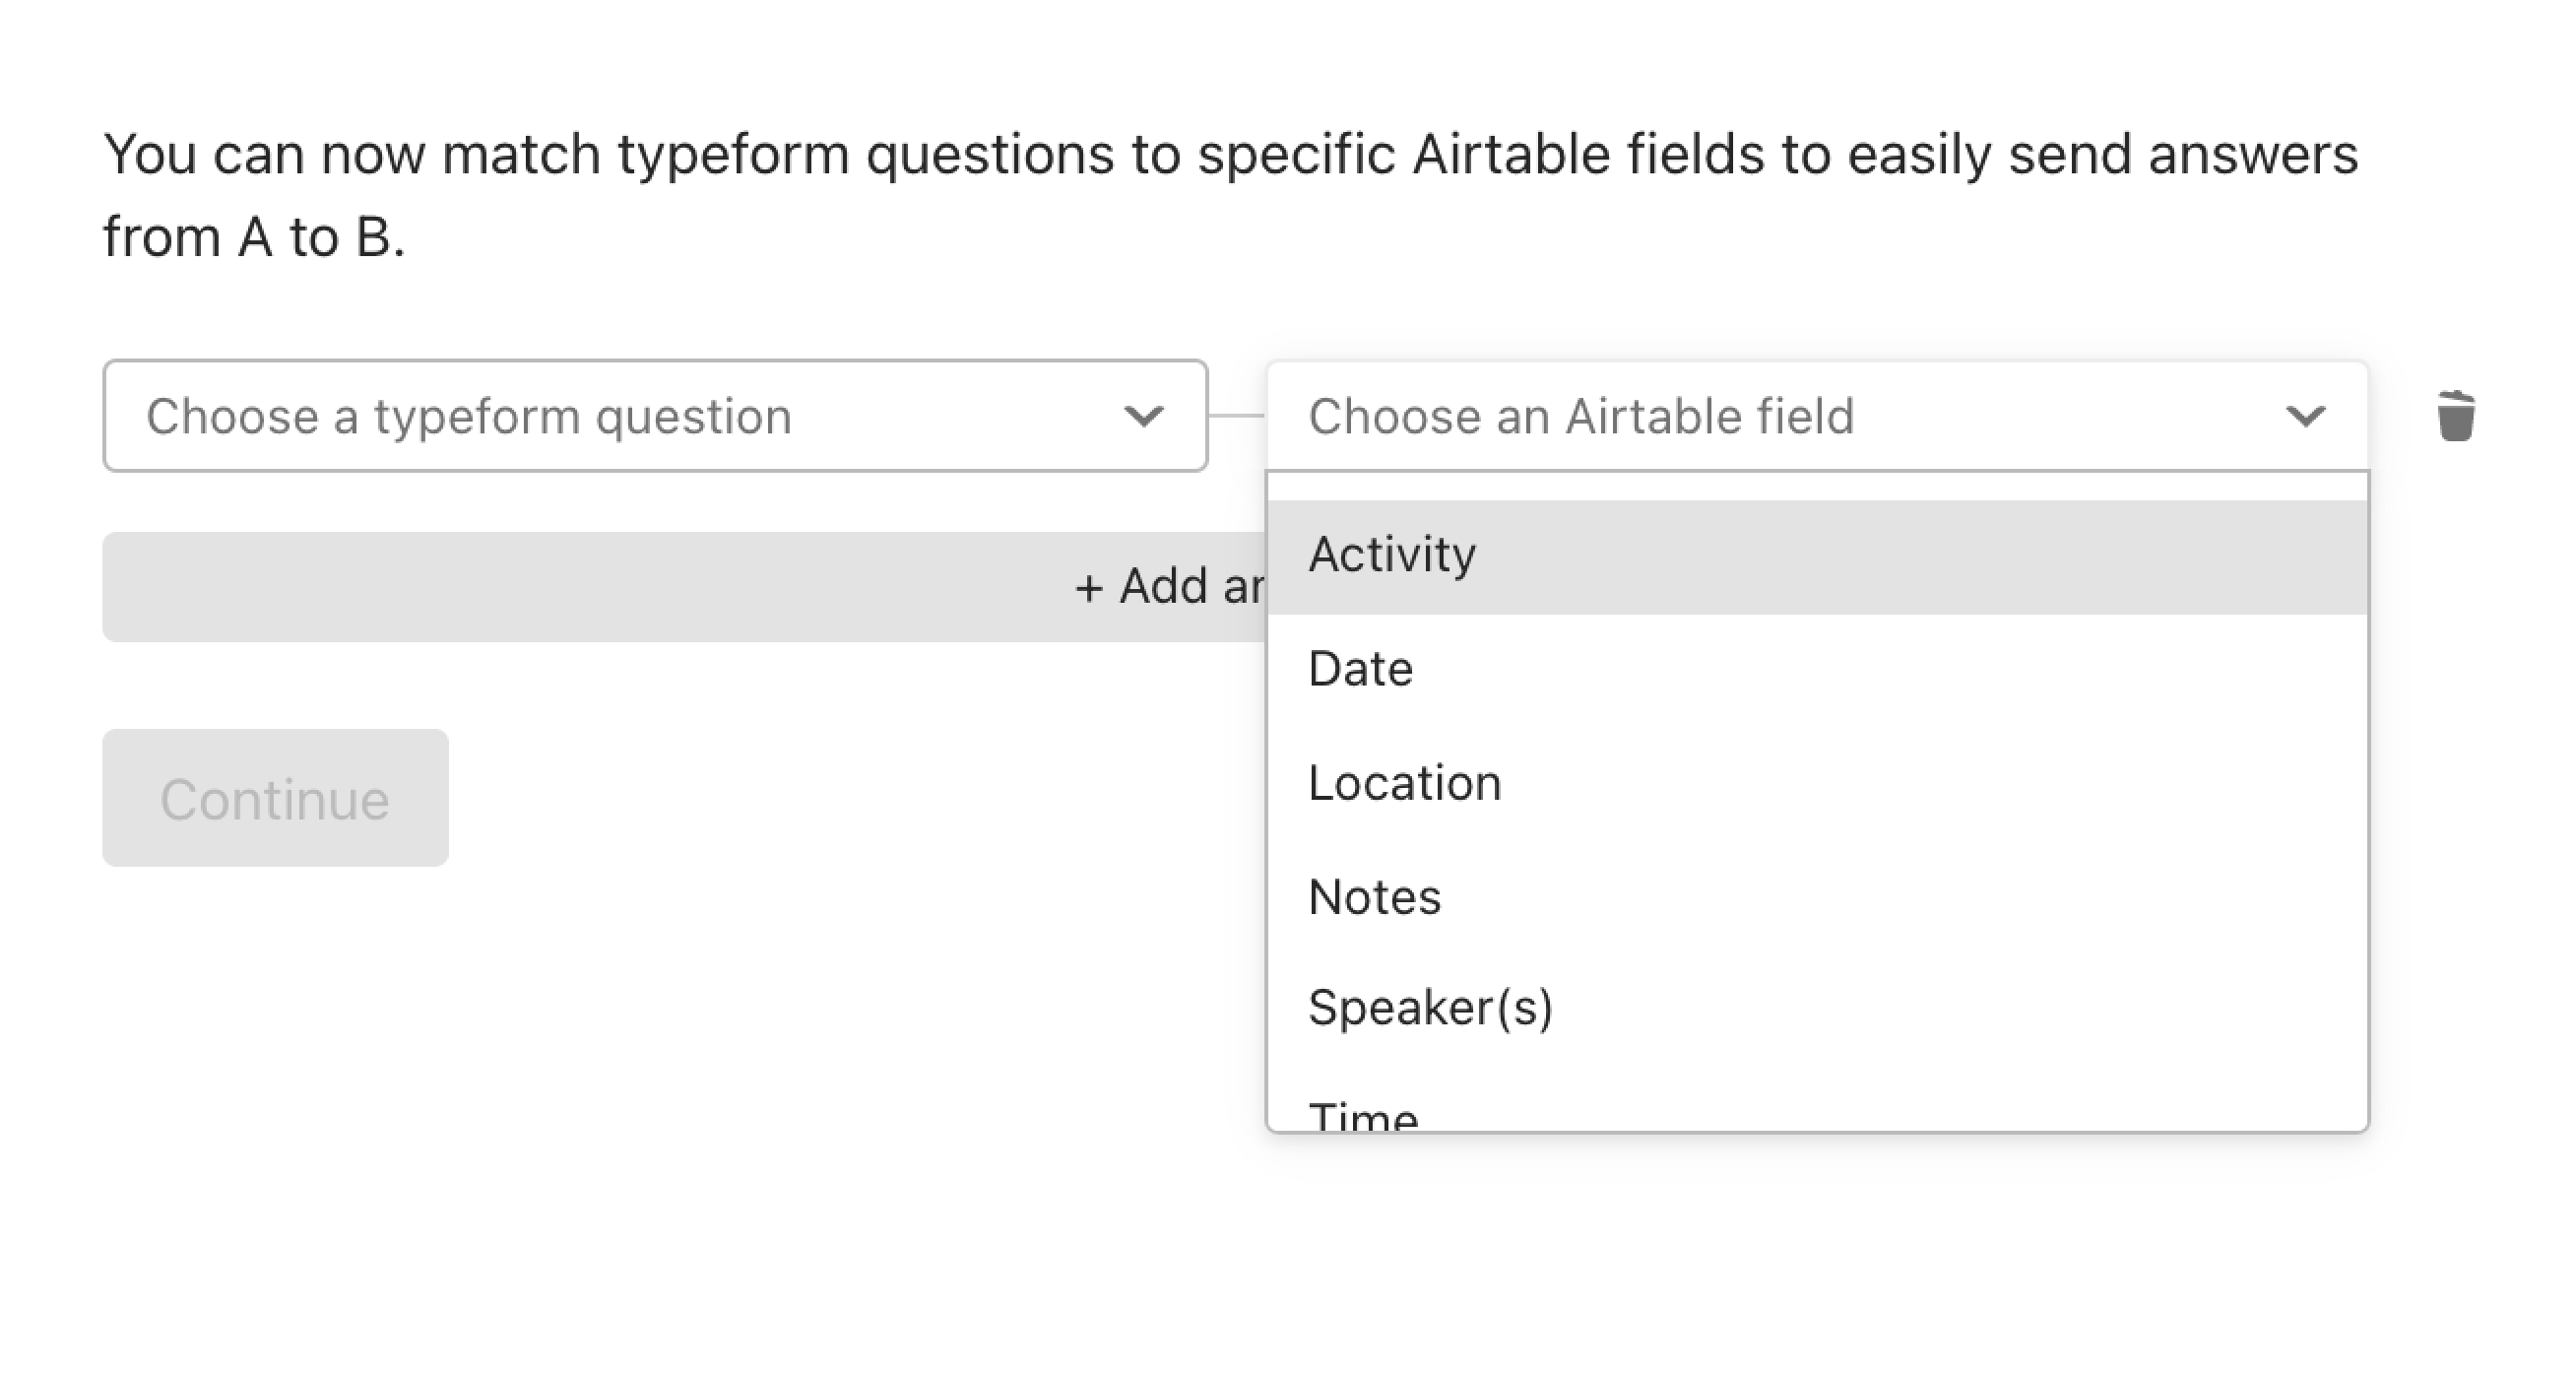
Choose a question from the left dropdown, then click on the right dropdown to find the corresponding Airtable field.
Below you can see our typeform questions on the left.
And on the right, the valid Airtable fields.
Here are our questions and fields connected.
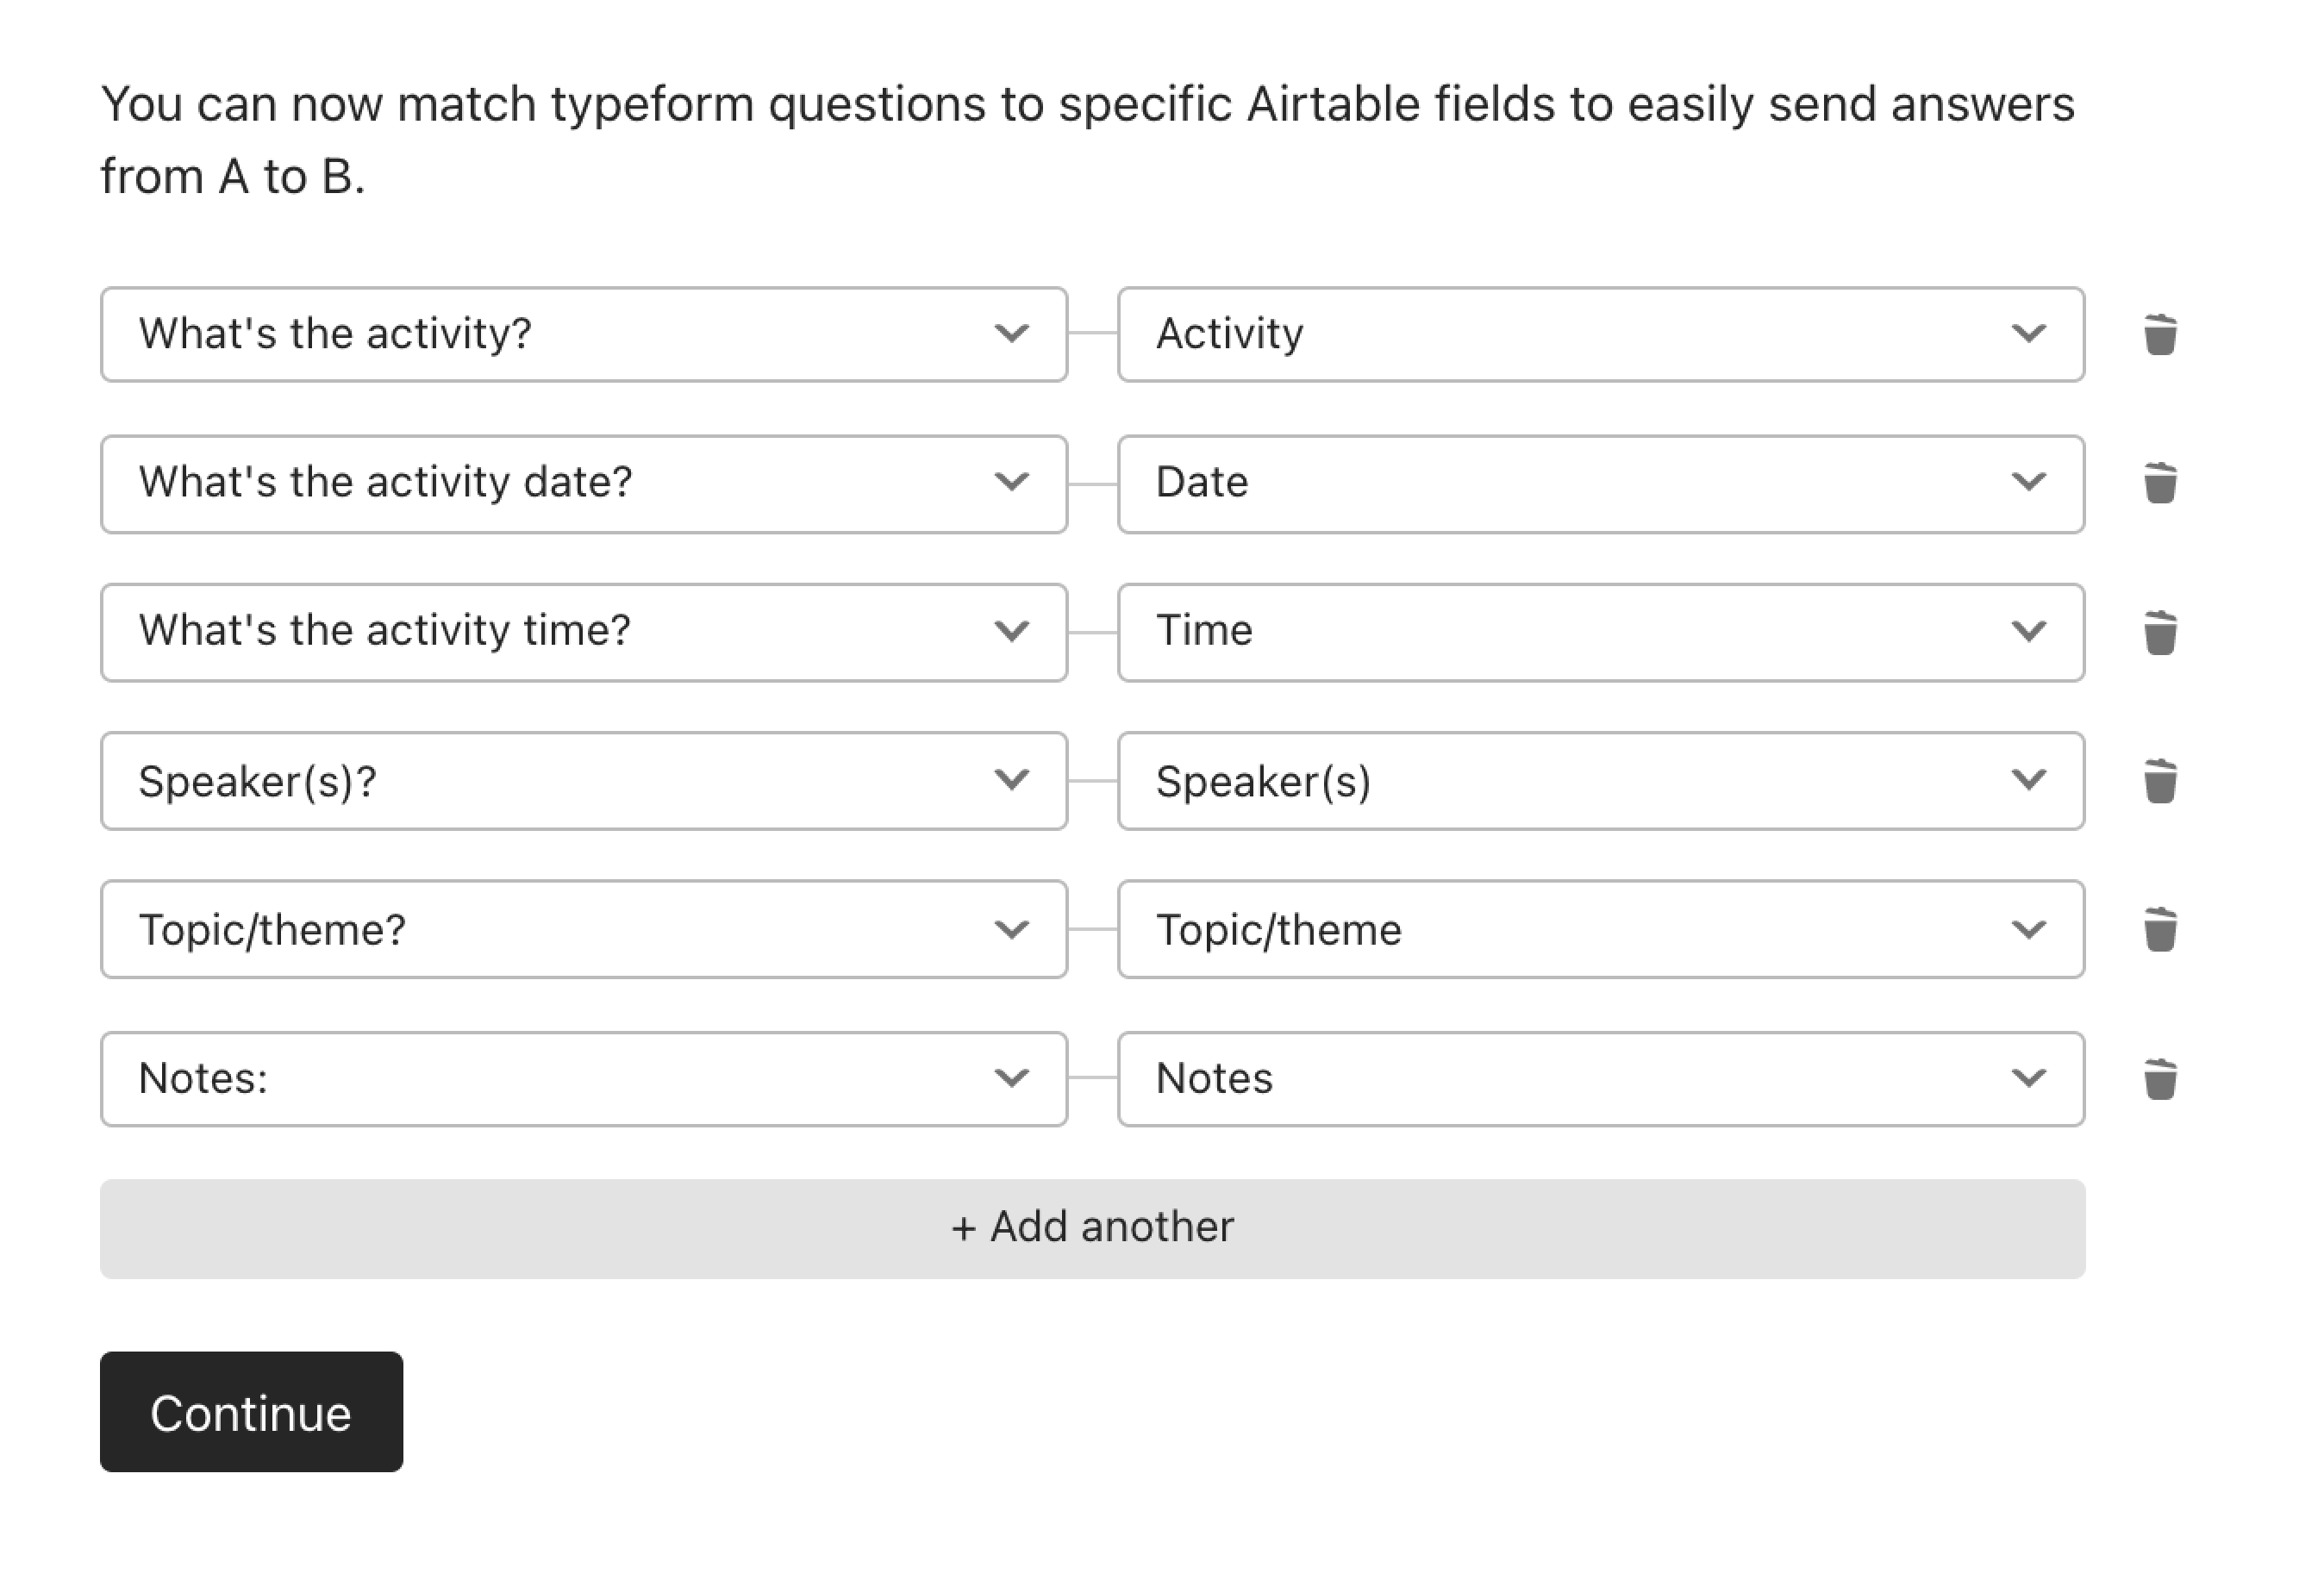
After connecting each question, click +Add another, and when you’ve finished, click Continue.

Note! If you do not see a corresponding Airtable field, check the field type in Airtable, to ensure it matches your typeform question type. There is a table of compatible questions and field types at the end of this article.
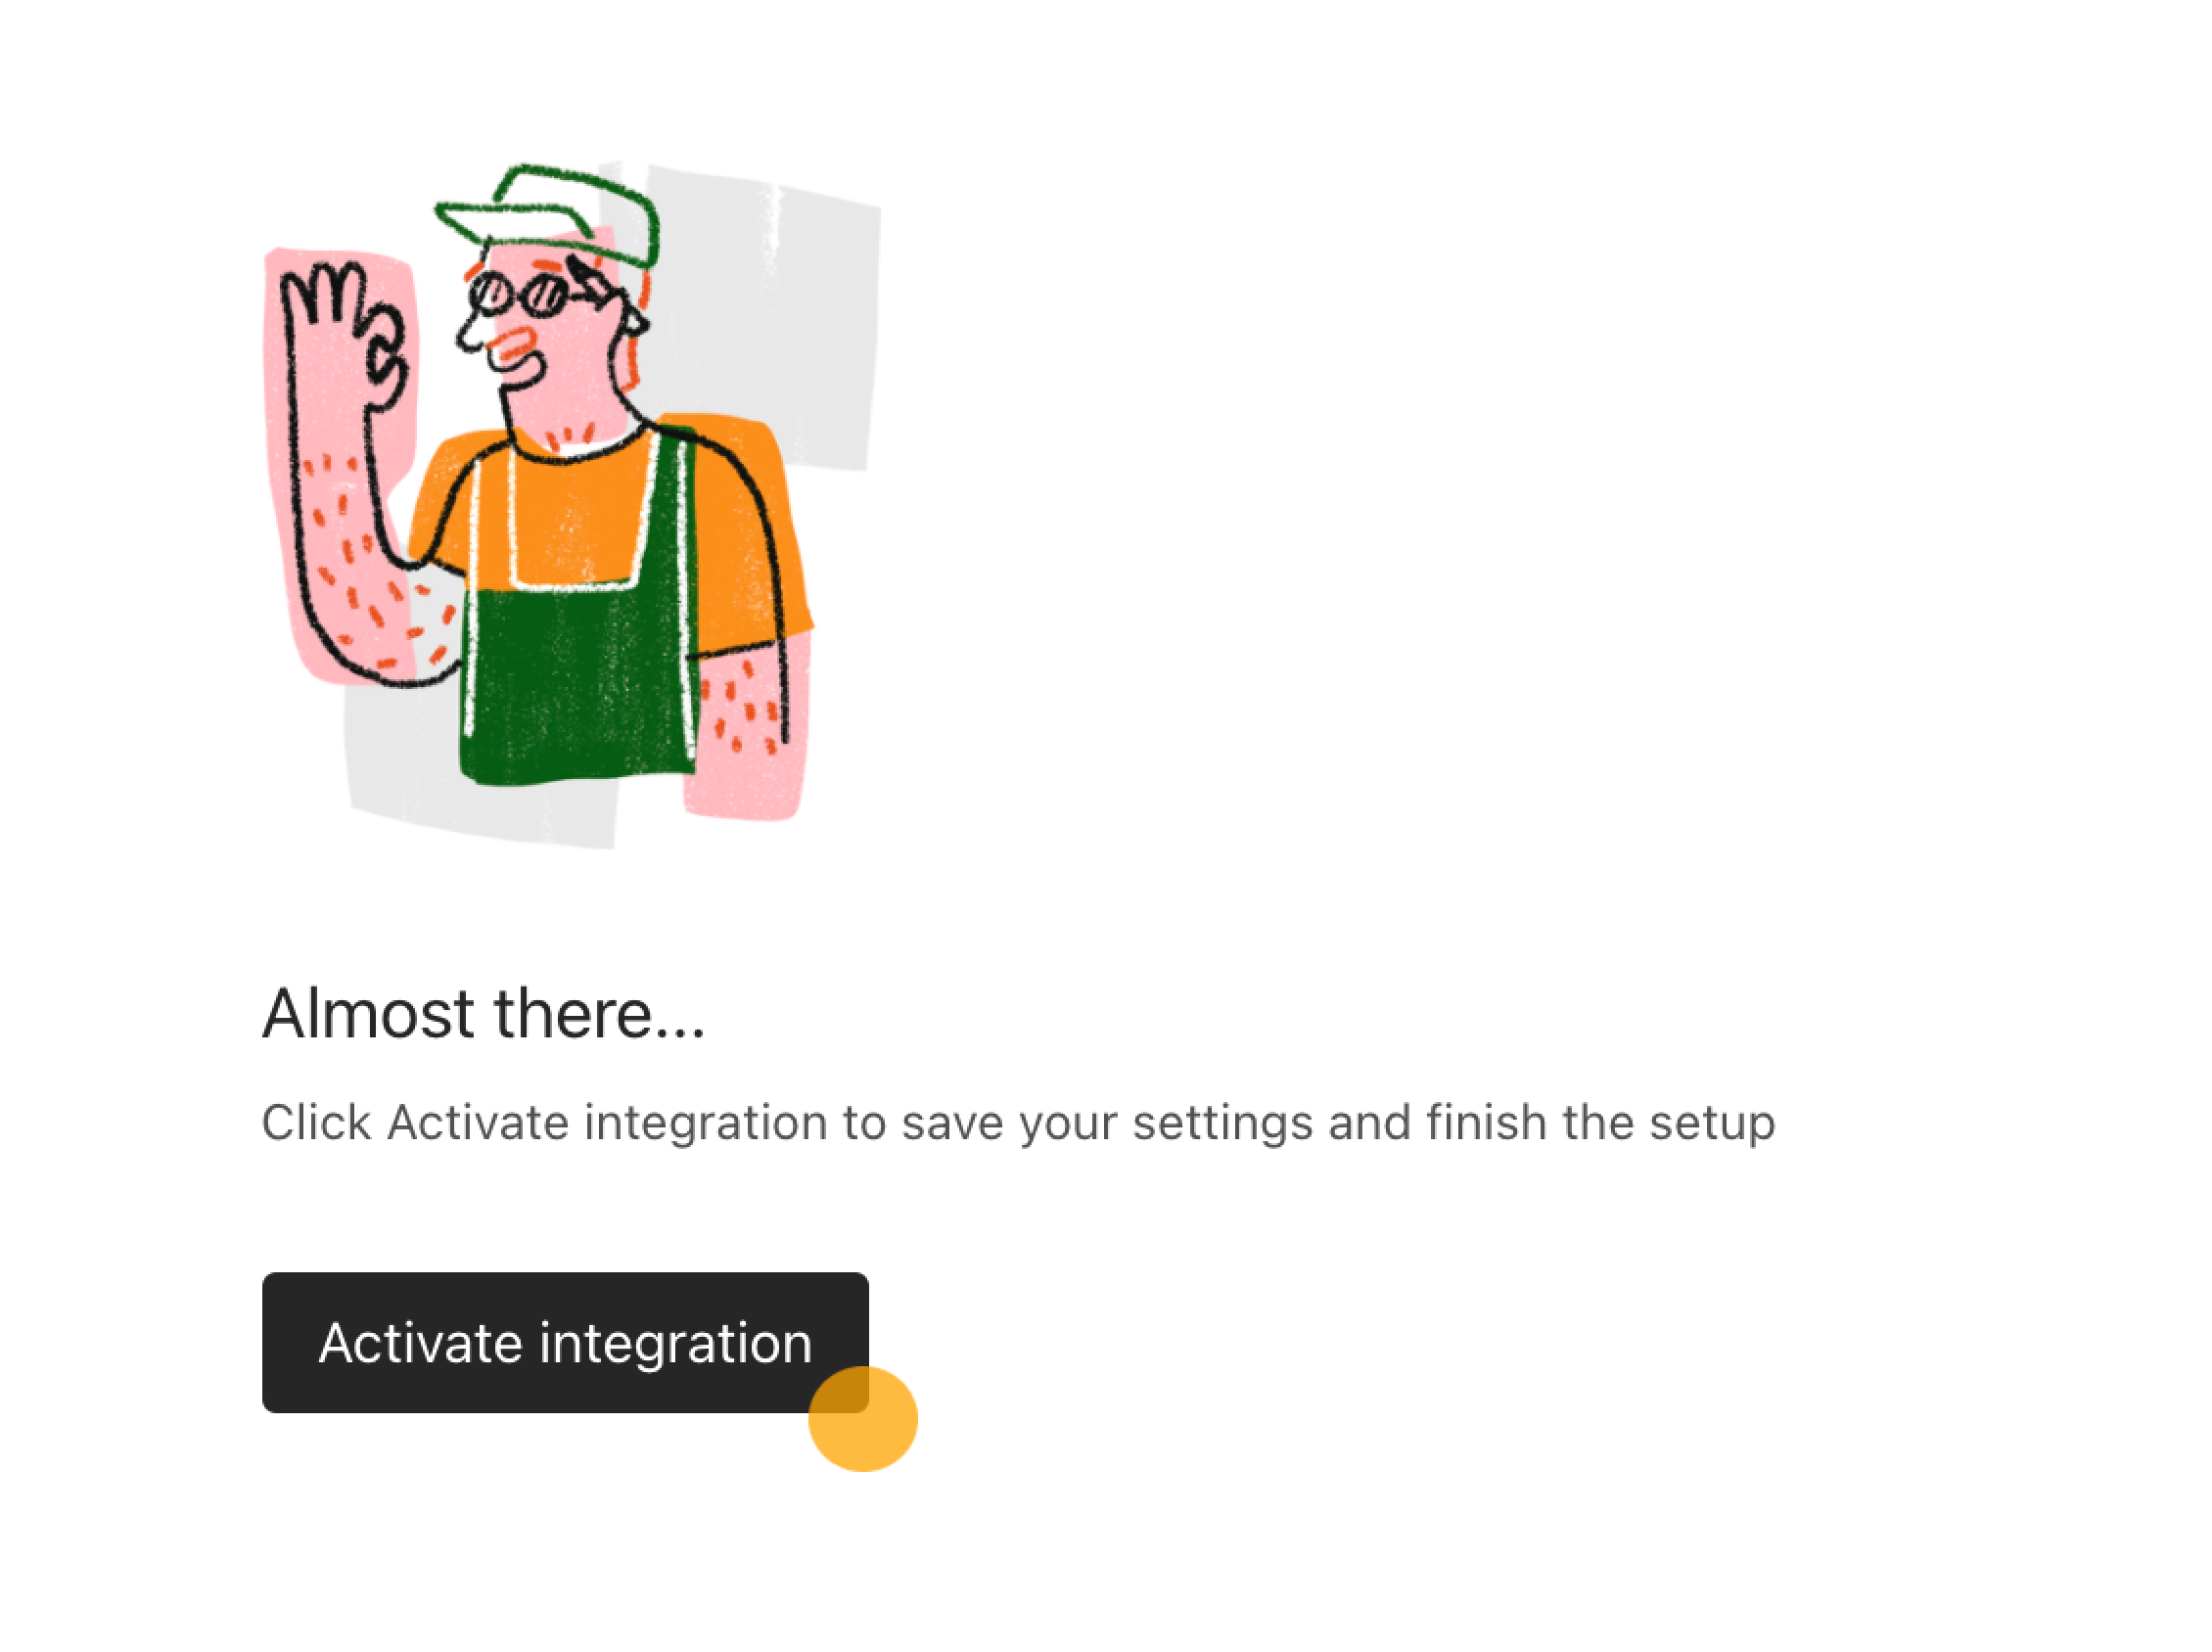
7. Next you’ll see this screen, click Activate integration.
8. That’s it! Back on the Connect panel, you can now see your Airtable integration is live.
Use the blue toggle to turn your integration on and off. Click the three dots symbol if you want to delete your integration.
Currently, you cannot edit the Airtable integration. If you've made changes to your typeform questions or would like to change how typeform questions are mapped to Airtable fields, you'll need to delete the integration and set it up again.
9. To finish, open your typeform and test it (test responses count toward your response limit), making sure to click Submit at the end. Now check the information has landed in your Airtable correctly. You’ll see your new data submission almost immediately. Then you can delete this test submission in Airtable, share your typeform as needed and let your data roll in, hands-free!
You can find the list of Typeform questions and compatible Airtable field types along with answers to the most common questions about mappings here.


