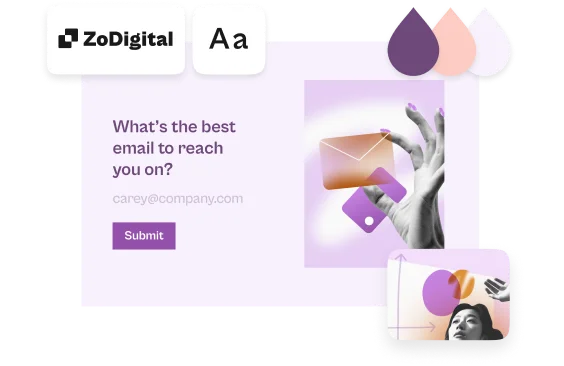
This tutorial explains how to create a personalized contact form with Typeform. If you prefer to get started straight away with an out-of-the-box form, simply download our free Contact Form template here.
For this contact form, we’re going to ask for name, email address, and leave space for a message from the respondent.
1. Open your Workspace, click the + Create a new form button.
2. Choose one of the options to get started with content creation. In this example, we’ll just start from scratch.
3. For our contact form, we’ll start with a Welcome screen. This is the first thing people will see, whether the form is embedded in your site or reached via a direct link. Click the Welcome Screen question and write some text to encourage people to leave a comment. Here, we’re going for light and friendly. You can add more context by using the optional ‘Description‘ field.
4. You can add an image to your Welcome Screen by clicking Add from the Image section in the right-hand sidebar. We’ve gone for a simple animated GIF.
5. Next, we’ll ask for our respondent’s name. Click on or drag a Short Text question into the editor and add your question text. Again, we’ve added a description and an animated GIF here to make things a bit friendlier.
6. If the person’s name is important for you, make this question Required in Question settings, in the right-hand sidebar.
7. Now select an Email question so we can capture the contact details. We want to make our contact form feel personal. We can pipe the person’s name into the question to add a personal touch. To do this, type the @ sign, and you'll see the recall information menu.
8. You can capture the reason why someone is getting in touch using a Multiple Choice question.
9. We’ll put this answer in a follow-up email as the subject, so we can easily see what the respondent is asking. We’ve given respondents four subject choices.
Click the settings (gear) icon, go to Follow-ups and create a new follow-up message. You can recall information in the Subject line from any of your questions by typing ‘@’. Just choose which answer you want to add from the drop-down list.
10. Lastly, we give respondents space to write their message to us. Add a Long Text question, again, with a description. We asked respondents to keep it short, but you can set a character limit in the right-hand sidebar if you want to be sure.
11. Now that your contact form is built, you can test it out. We recommend spending time customizing the design to choose colors and fonts that fit with your company or website.
12. It’s easy to embed forms wherever you want. Go to the Share panel and read this article for more details.
What to do with the contacts you collect
You can integrate your form with your company’s lead generation software, CRM, or support solution. This lets you add new contacts to your database automatically. For example, you can connect the form to HubSpot or MailChimp using our native integrations, or to Zendesk via a Zapier integration.


